Maker Lab II
School Project - Wilfrid Laurier University
|
2025
Project Case Study

Overview
For Maker Lab II, two projects, SDP1 and SDP2 were completed. These projects both involved creating a prototype of a product that would create multi-sensory somatic experiences for the user.
SDP1 was an interactive children’s book that used sight, touch, vibrations, smells and sounds to create an immersive reading experience.
SDP2 was a smart storage box that could pair with an app to create easy and accessible storage.
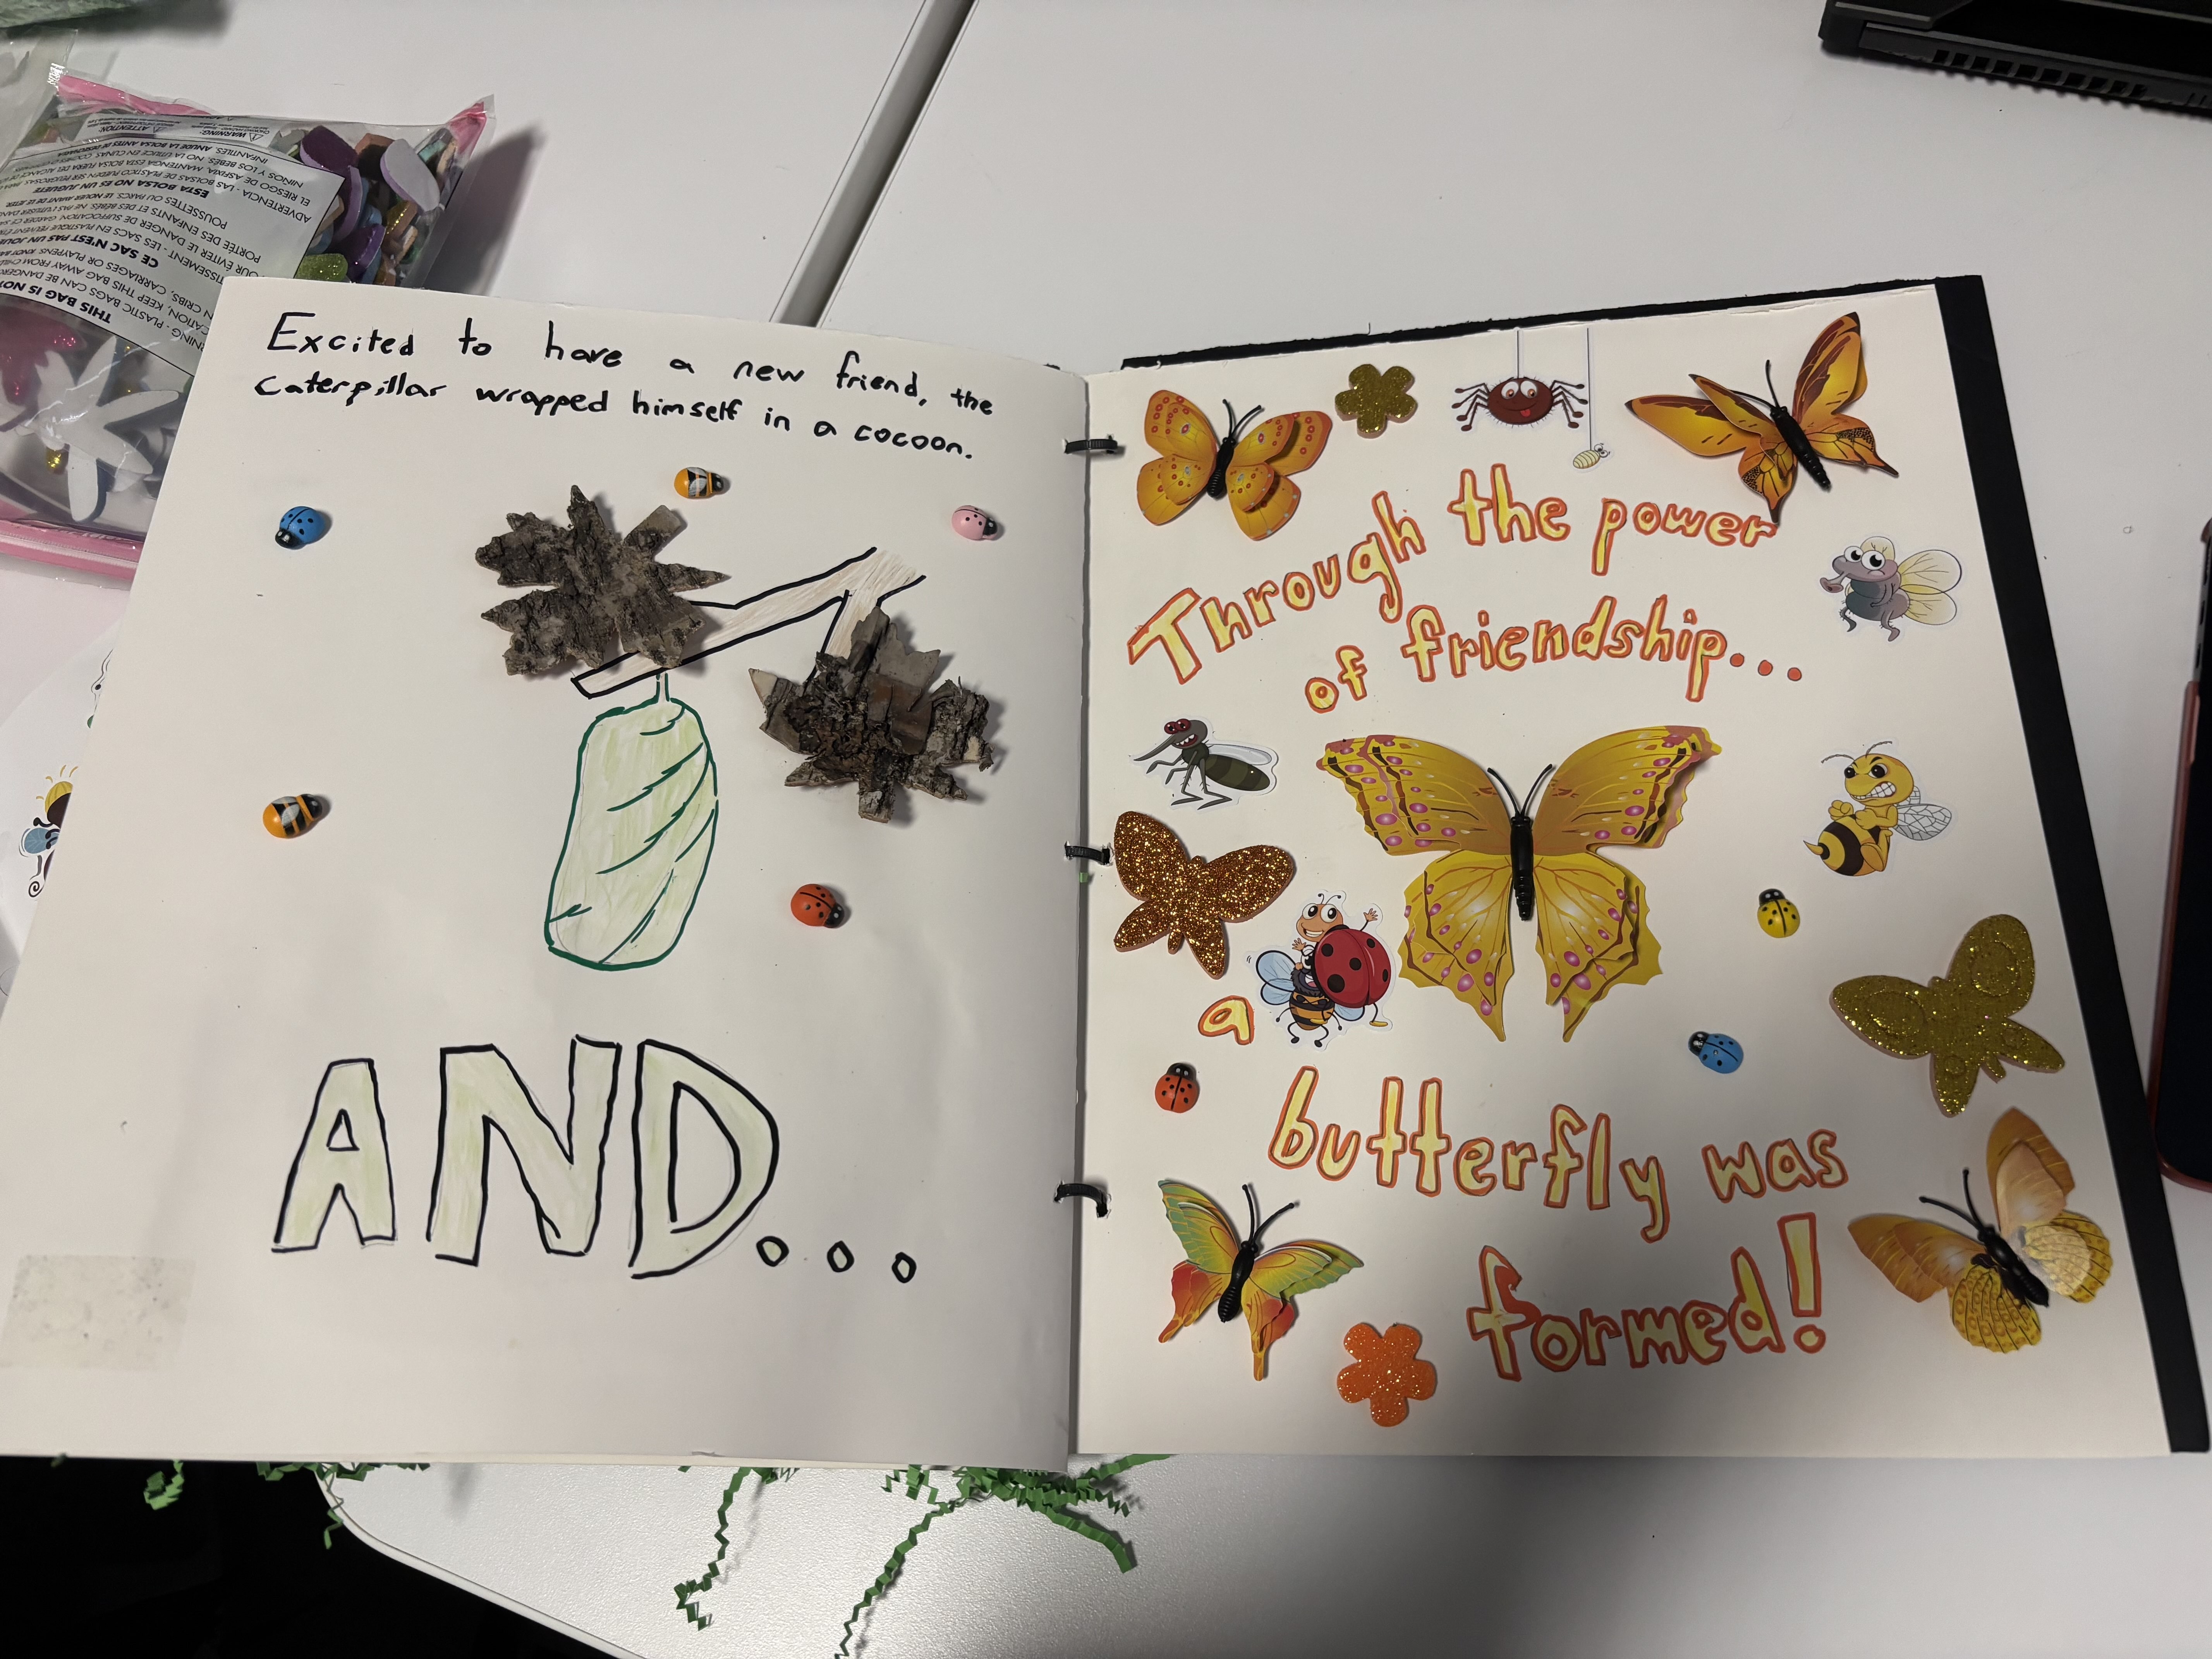
First and second page of our story.

Third and fourth page of our story
Process
SDP1 - Interactive Children's Book
For SDP1 our group created a prototype of an interactive children’s book. This book features sounds and visuals that engage young readers and promote interactivity. To further push the somatic experiences the book also features tactile textures that emulate elements in the story, such as the characters and environments.
Materials
Bristol Board: For the pages of the book
Foam Board: For the cover of the book, to keep the assumbly sturdy
Scissors: To cut the paper into the correct page size
Pencil Crayons/Paint Markers: To draw the images and write out the story
Glue: To attach the tactile elements
Bark Textured Leaves/Crinkle Paper: To add texture
Googly Eyes: To add kinaesthetic interaction to the book
Cat Pencil Case: To act as a tactile character in the story and hold the Arduino Microcontroller
Assembly Process
Writing the Story:
First, we wrote our story based on the materials we had. We decided to create a bug-themed story centered around a lonely caterpillar that wanted to make a friend. At the end of the story, the caterpillar befriends a cat before eventually turning into a butterfly.
Illustrating the Story:
After planning what the story would be, we created a mini mockup to test how many pages we would need and what we wanted to include on each page. After doing so, we were able to transfer the illustration to the larger book.
Adding Tactile Elements:
Once we had all the major story elements laid out, we built the environment using various textured materials we had. This included crinkle paper, bark-textured leaves, as well as a furry pencil case. This case would hold the Arduino, which would control teh electronic elements such as lights, sounds and haptics.
Adding the cover:
Finally, we attach the foam board cover. The cover uses a different material to give the book some stability, especially with all the heavy elements added to the insides.
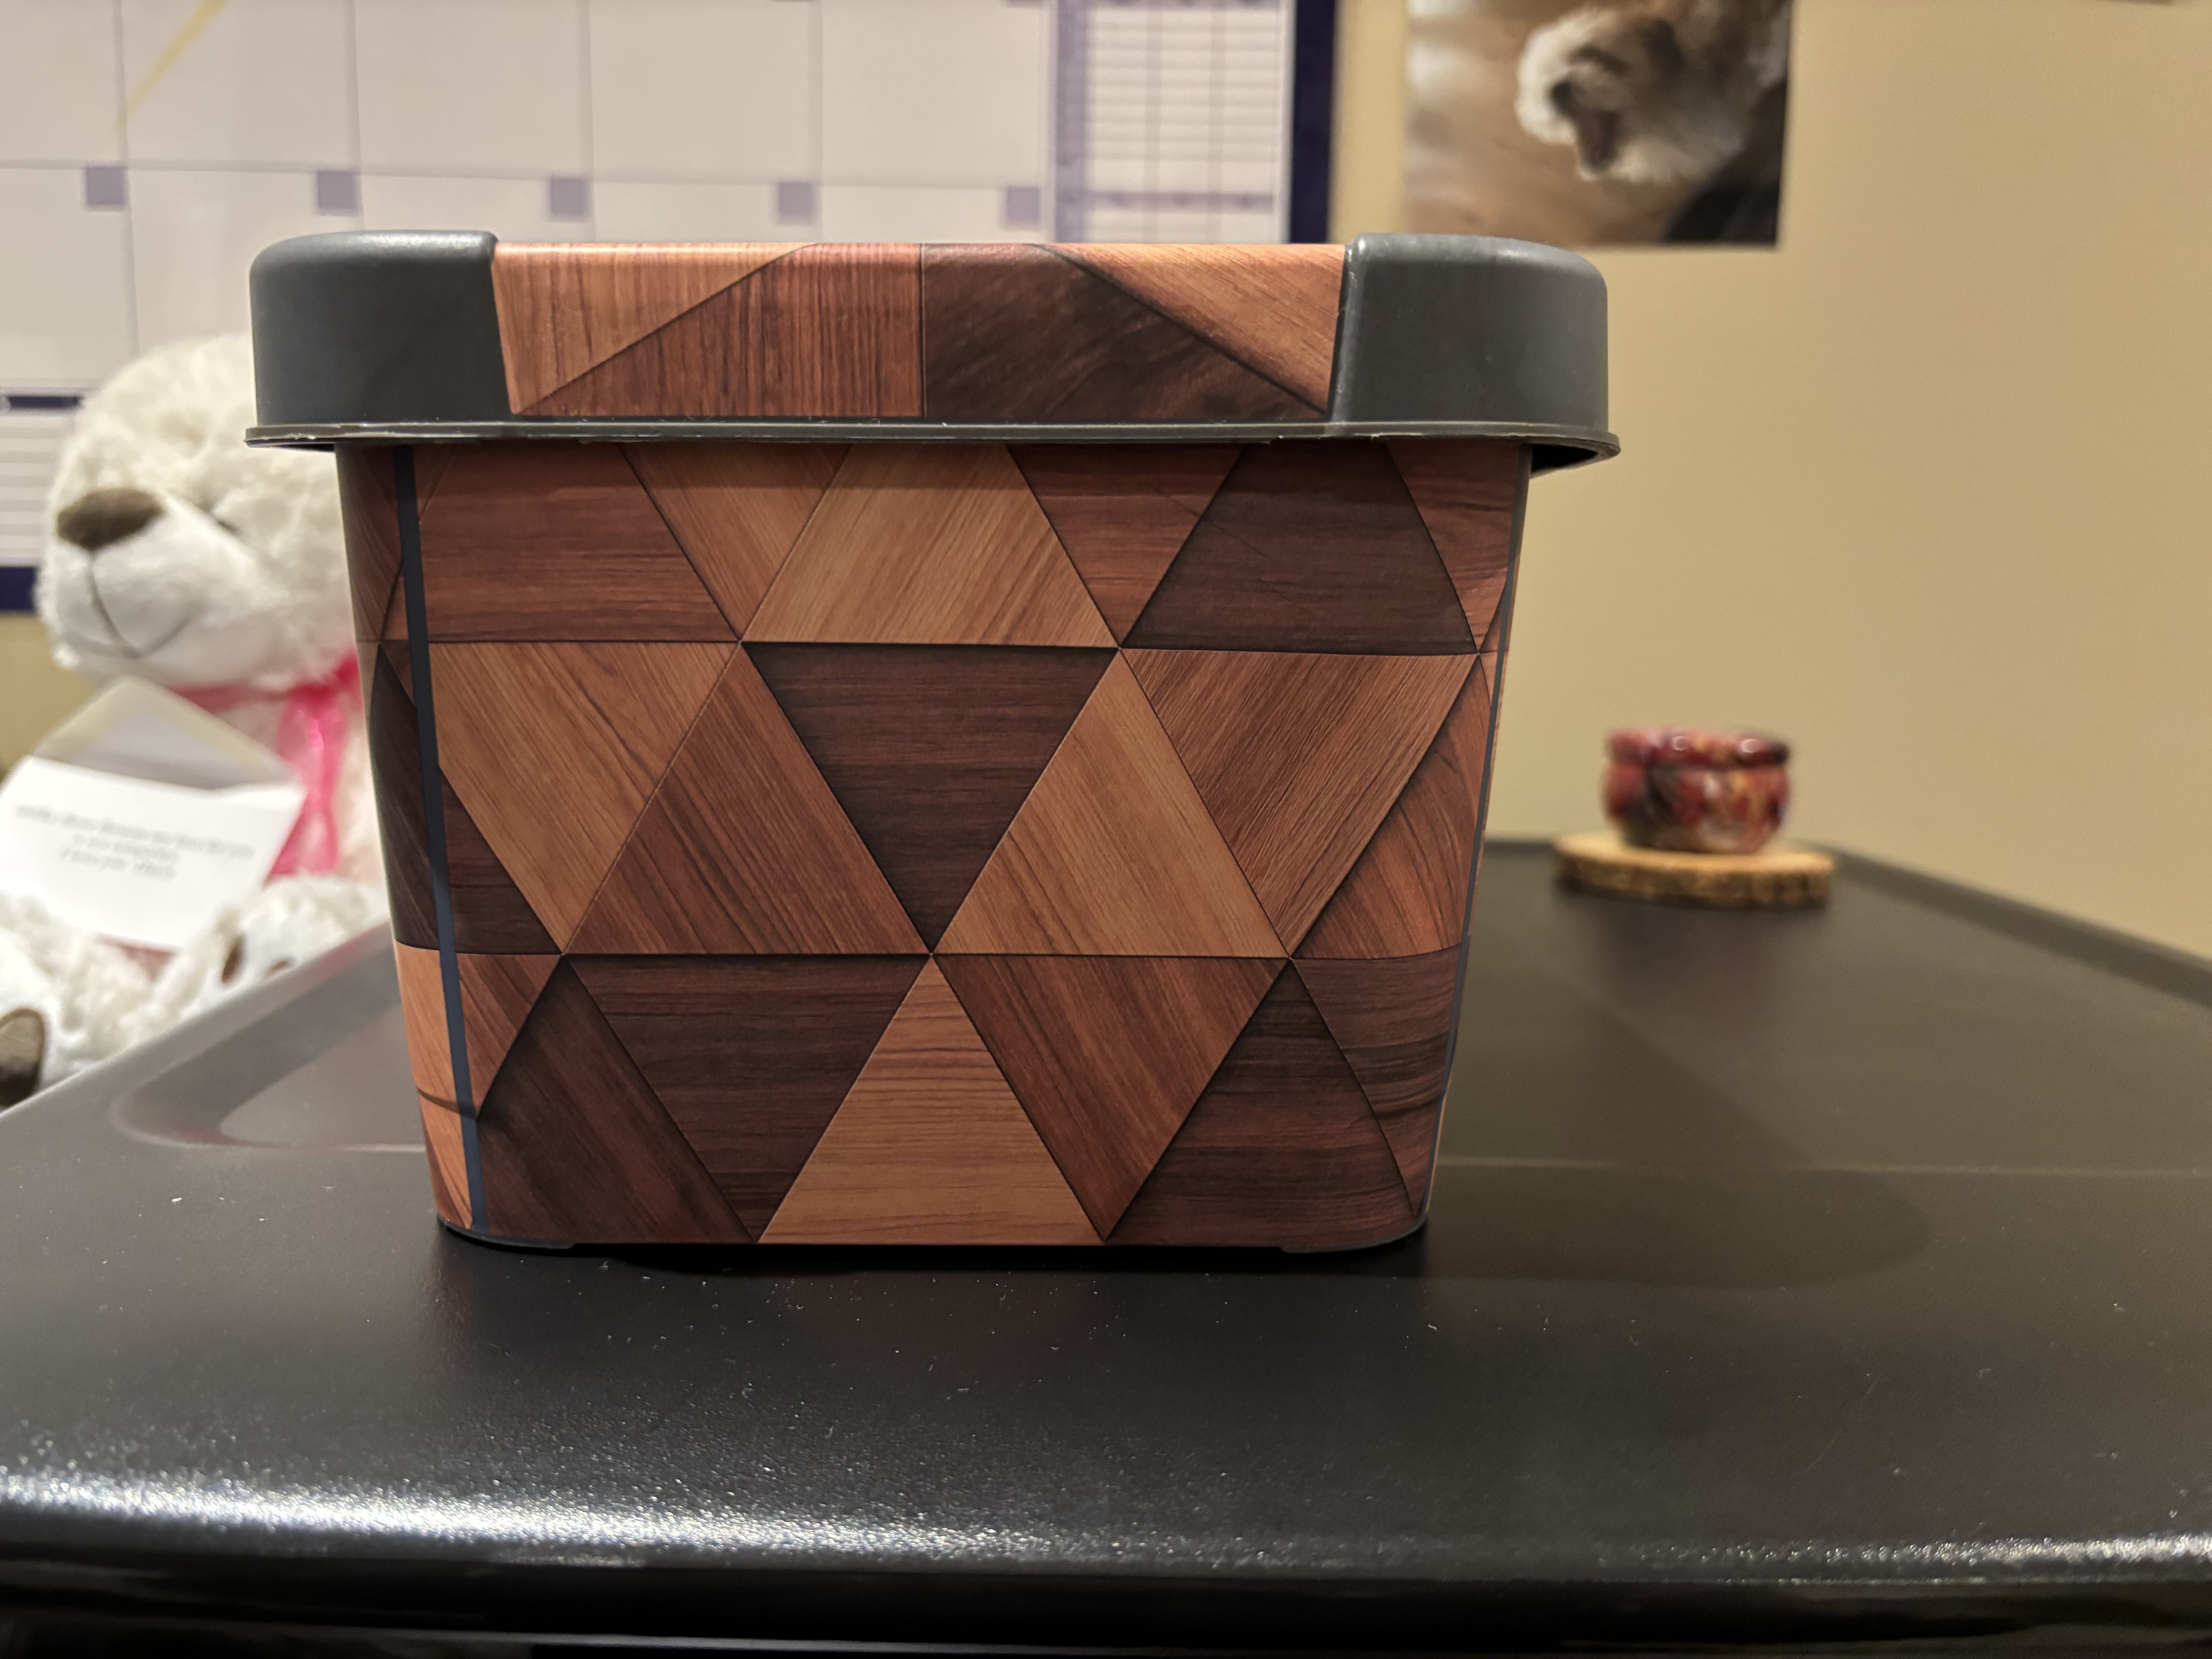
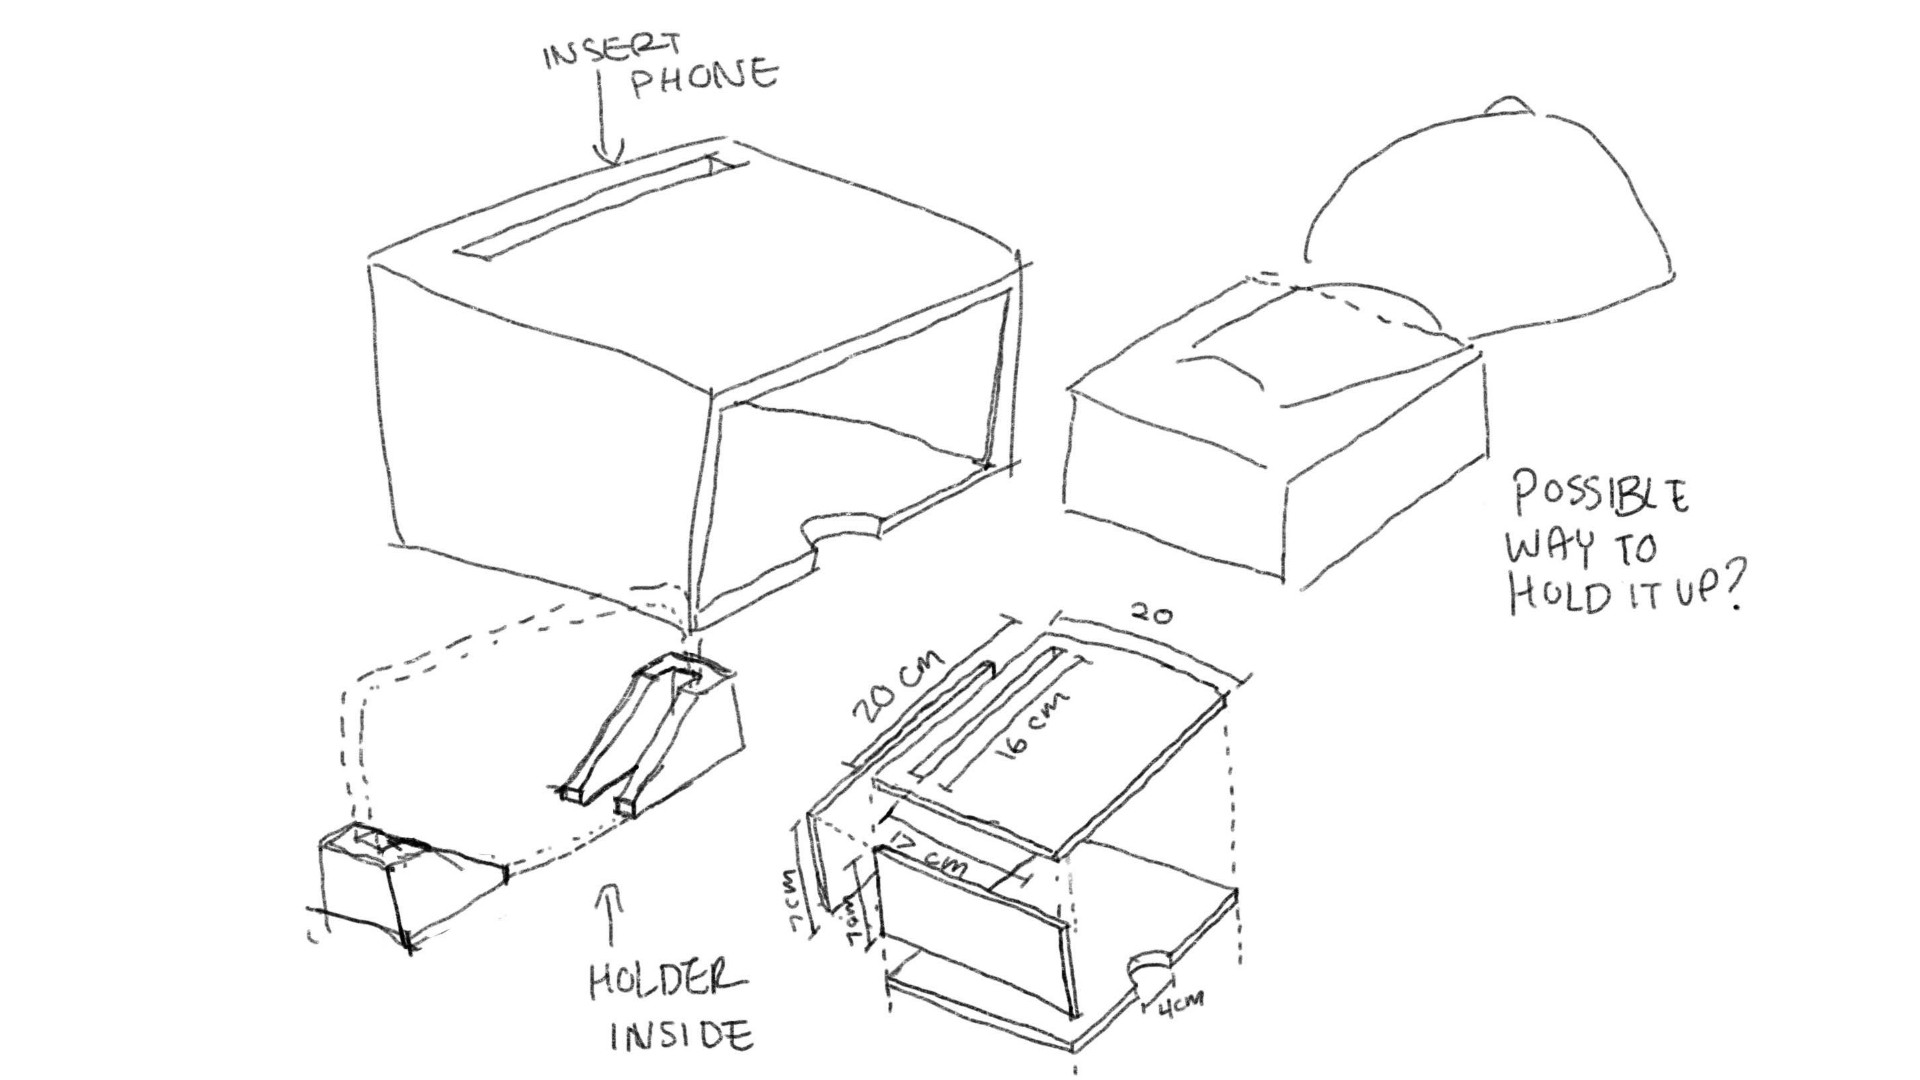
SDP2 - Smart Storage Box
For SDP2 our group created a prototype of a smart storage box that can be controlled through an app. This box would allow you to store items within sections in the box and take note of which items were stored where in the app. You could then easily search your items in the app to figure out which box to look in once you need the item. The box uses digital labels, a braille refresher inspired braille display and a text to speech button to further help with organization. When locating a specific box, a light and alert soung can help users to find them easily. The box also features an "elevator" function that raises the section containing the desired item so that users do not have to bend over their boxes to look for items. This box focuses not only on how to integrate an everyday object like a storage box into the Internet of Things but also how to increase accessibility.
Materials
Box: To be the box
Scissors: To cut the labels
Paint Markers: To draw the labels
Cardboard: To help simulate the rising sections
Arduino Microcontroller: To simulate teh buzzer sound and LED response to locating an item
Assembly Process
Creating the Outer Labels:
The outer labels contain section numbers, digital labels for the section name, a braille version of the labels, a text-to-speech button and a speaker. We show what this may look liek on the side of teh box.
Constructing the Rising Sections:
The rising sections were constructed as cardboard platforms that can move up to allow better access to stored items. In our prototype, we simulated this by creating a "pulling" mechanism that raises the desired platform manually.
Programming the Arduino:
The Arduino allows for the light and buzzer to operate as a response to trying to locate the box, For the sake of demonstration, we made our Arduino use a button instead. When pressed, the button triggers both the light and the buzzer.
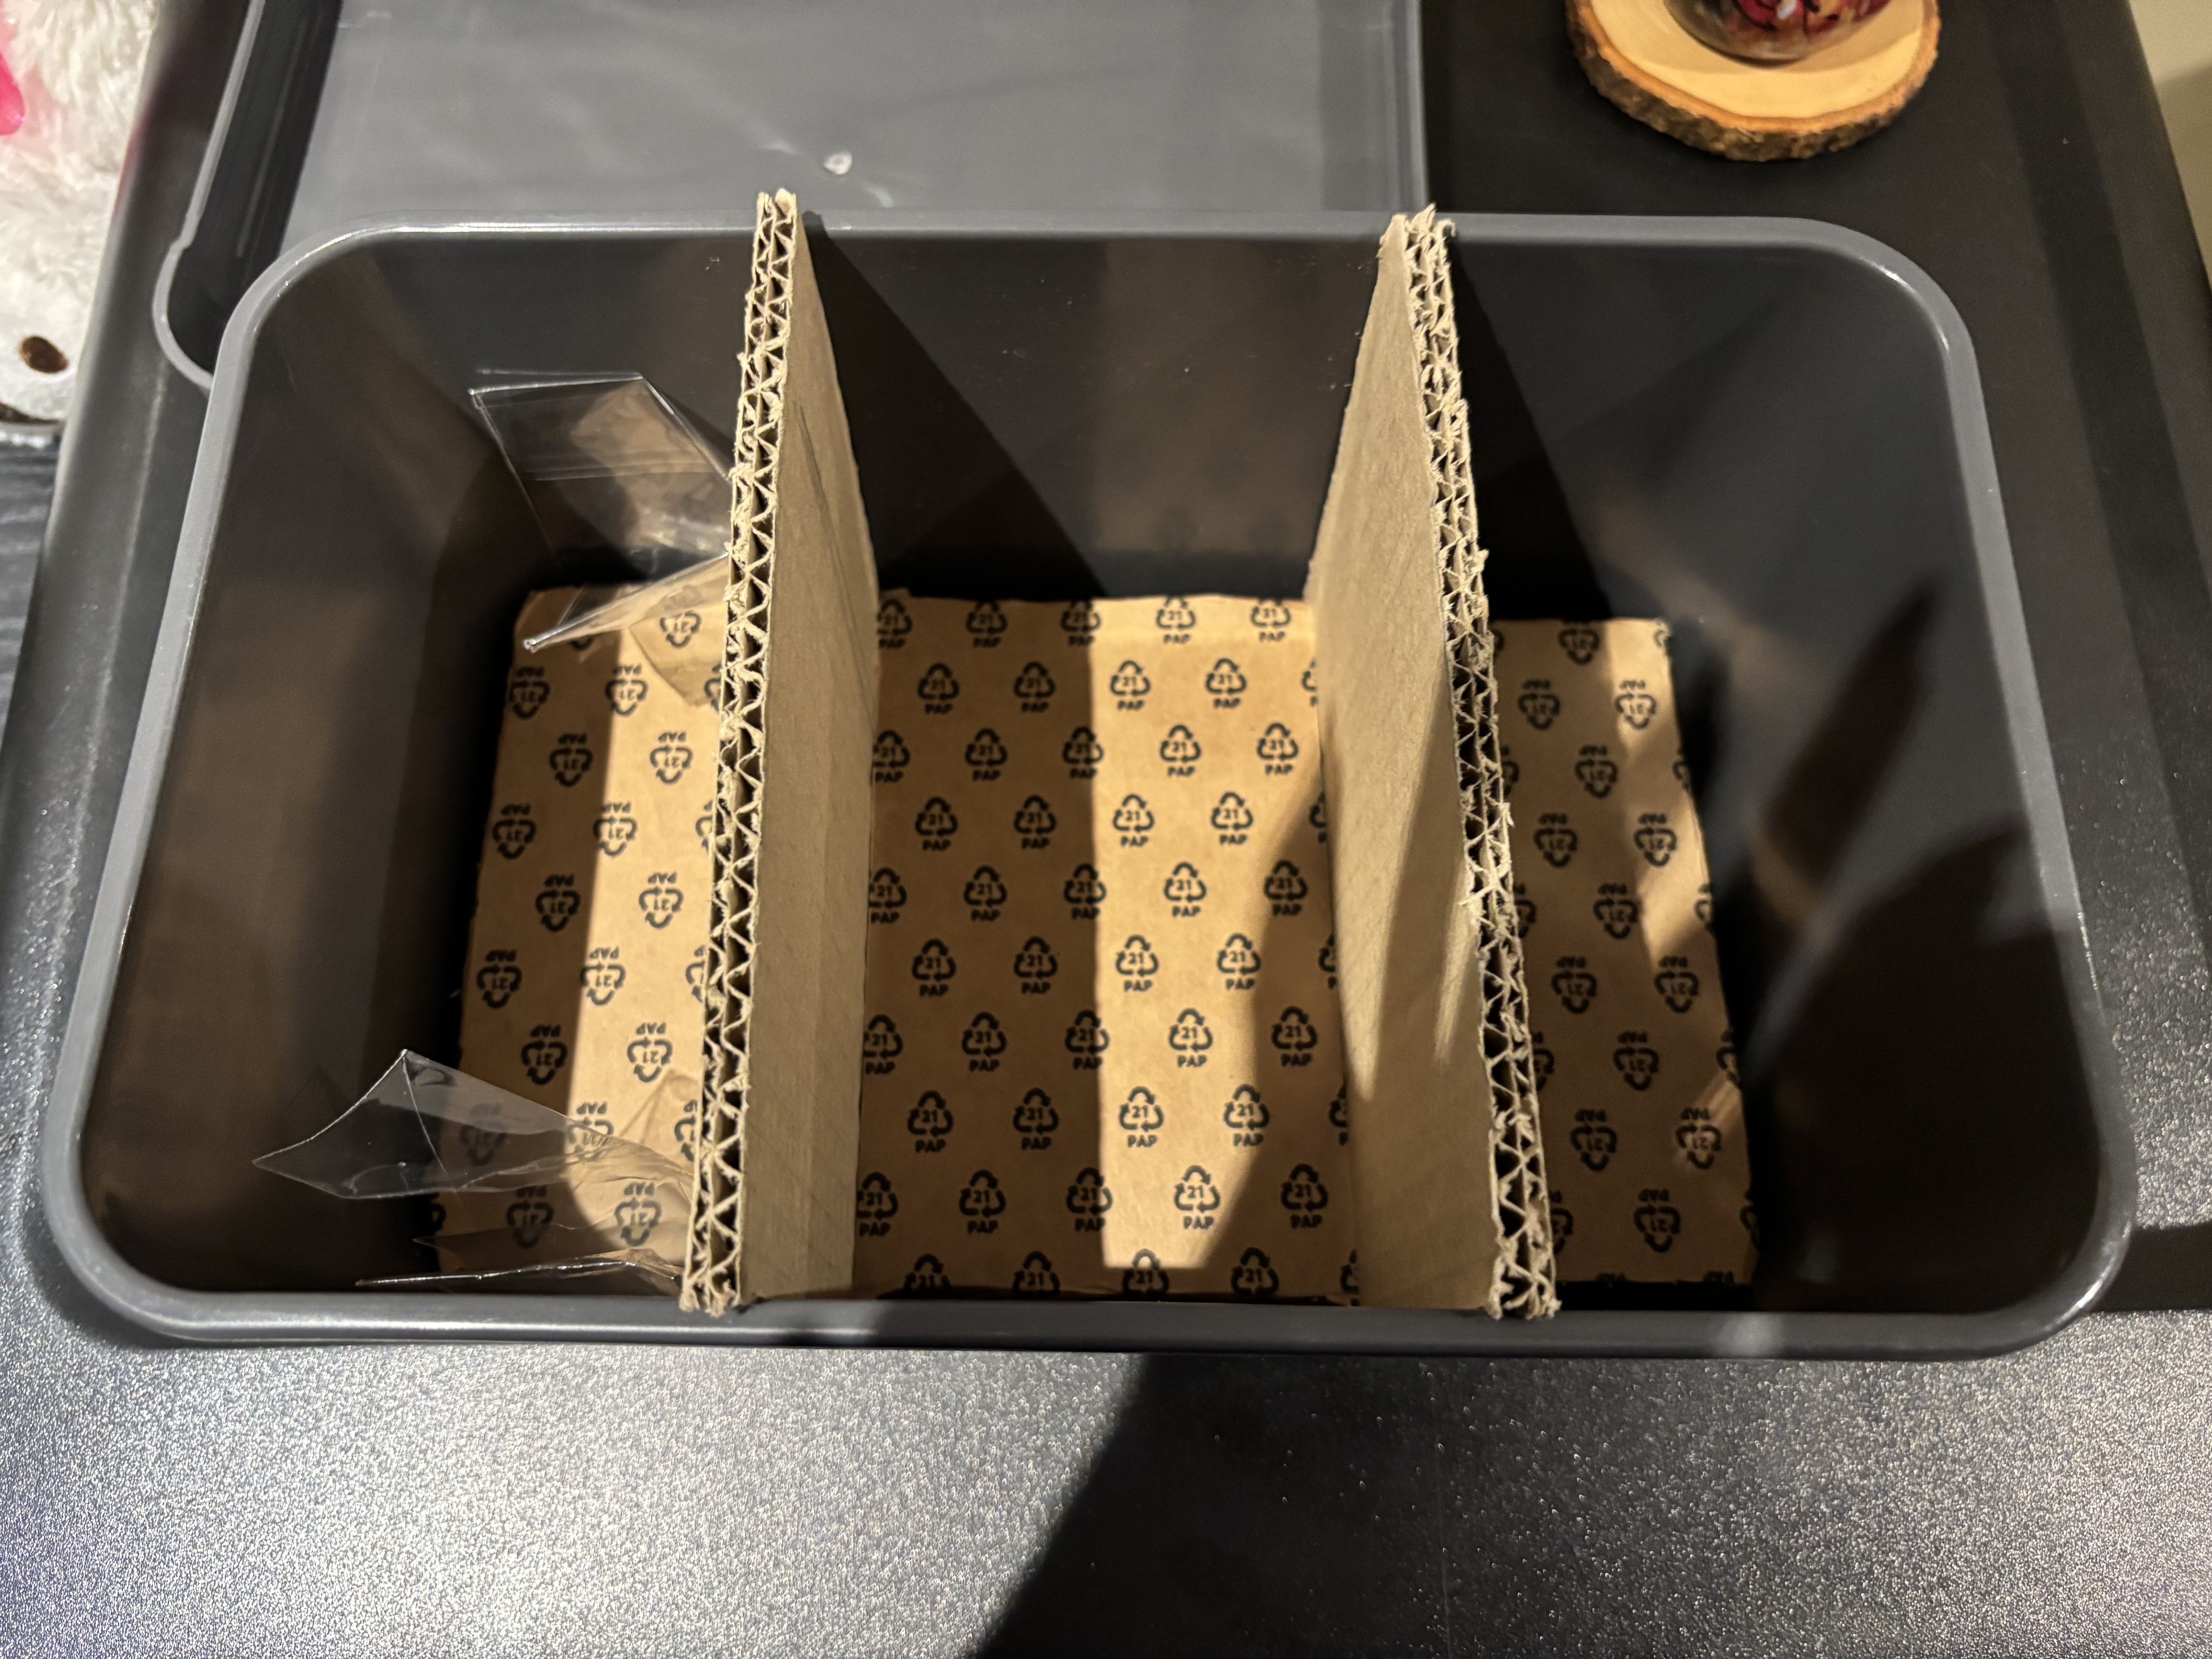
Inside of the storage box.
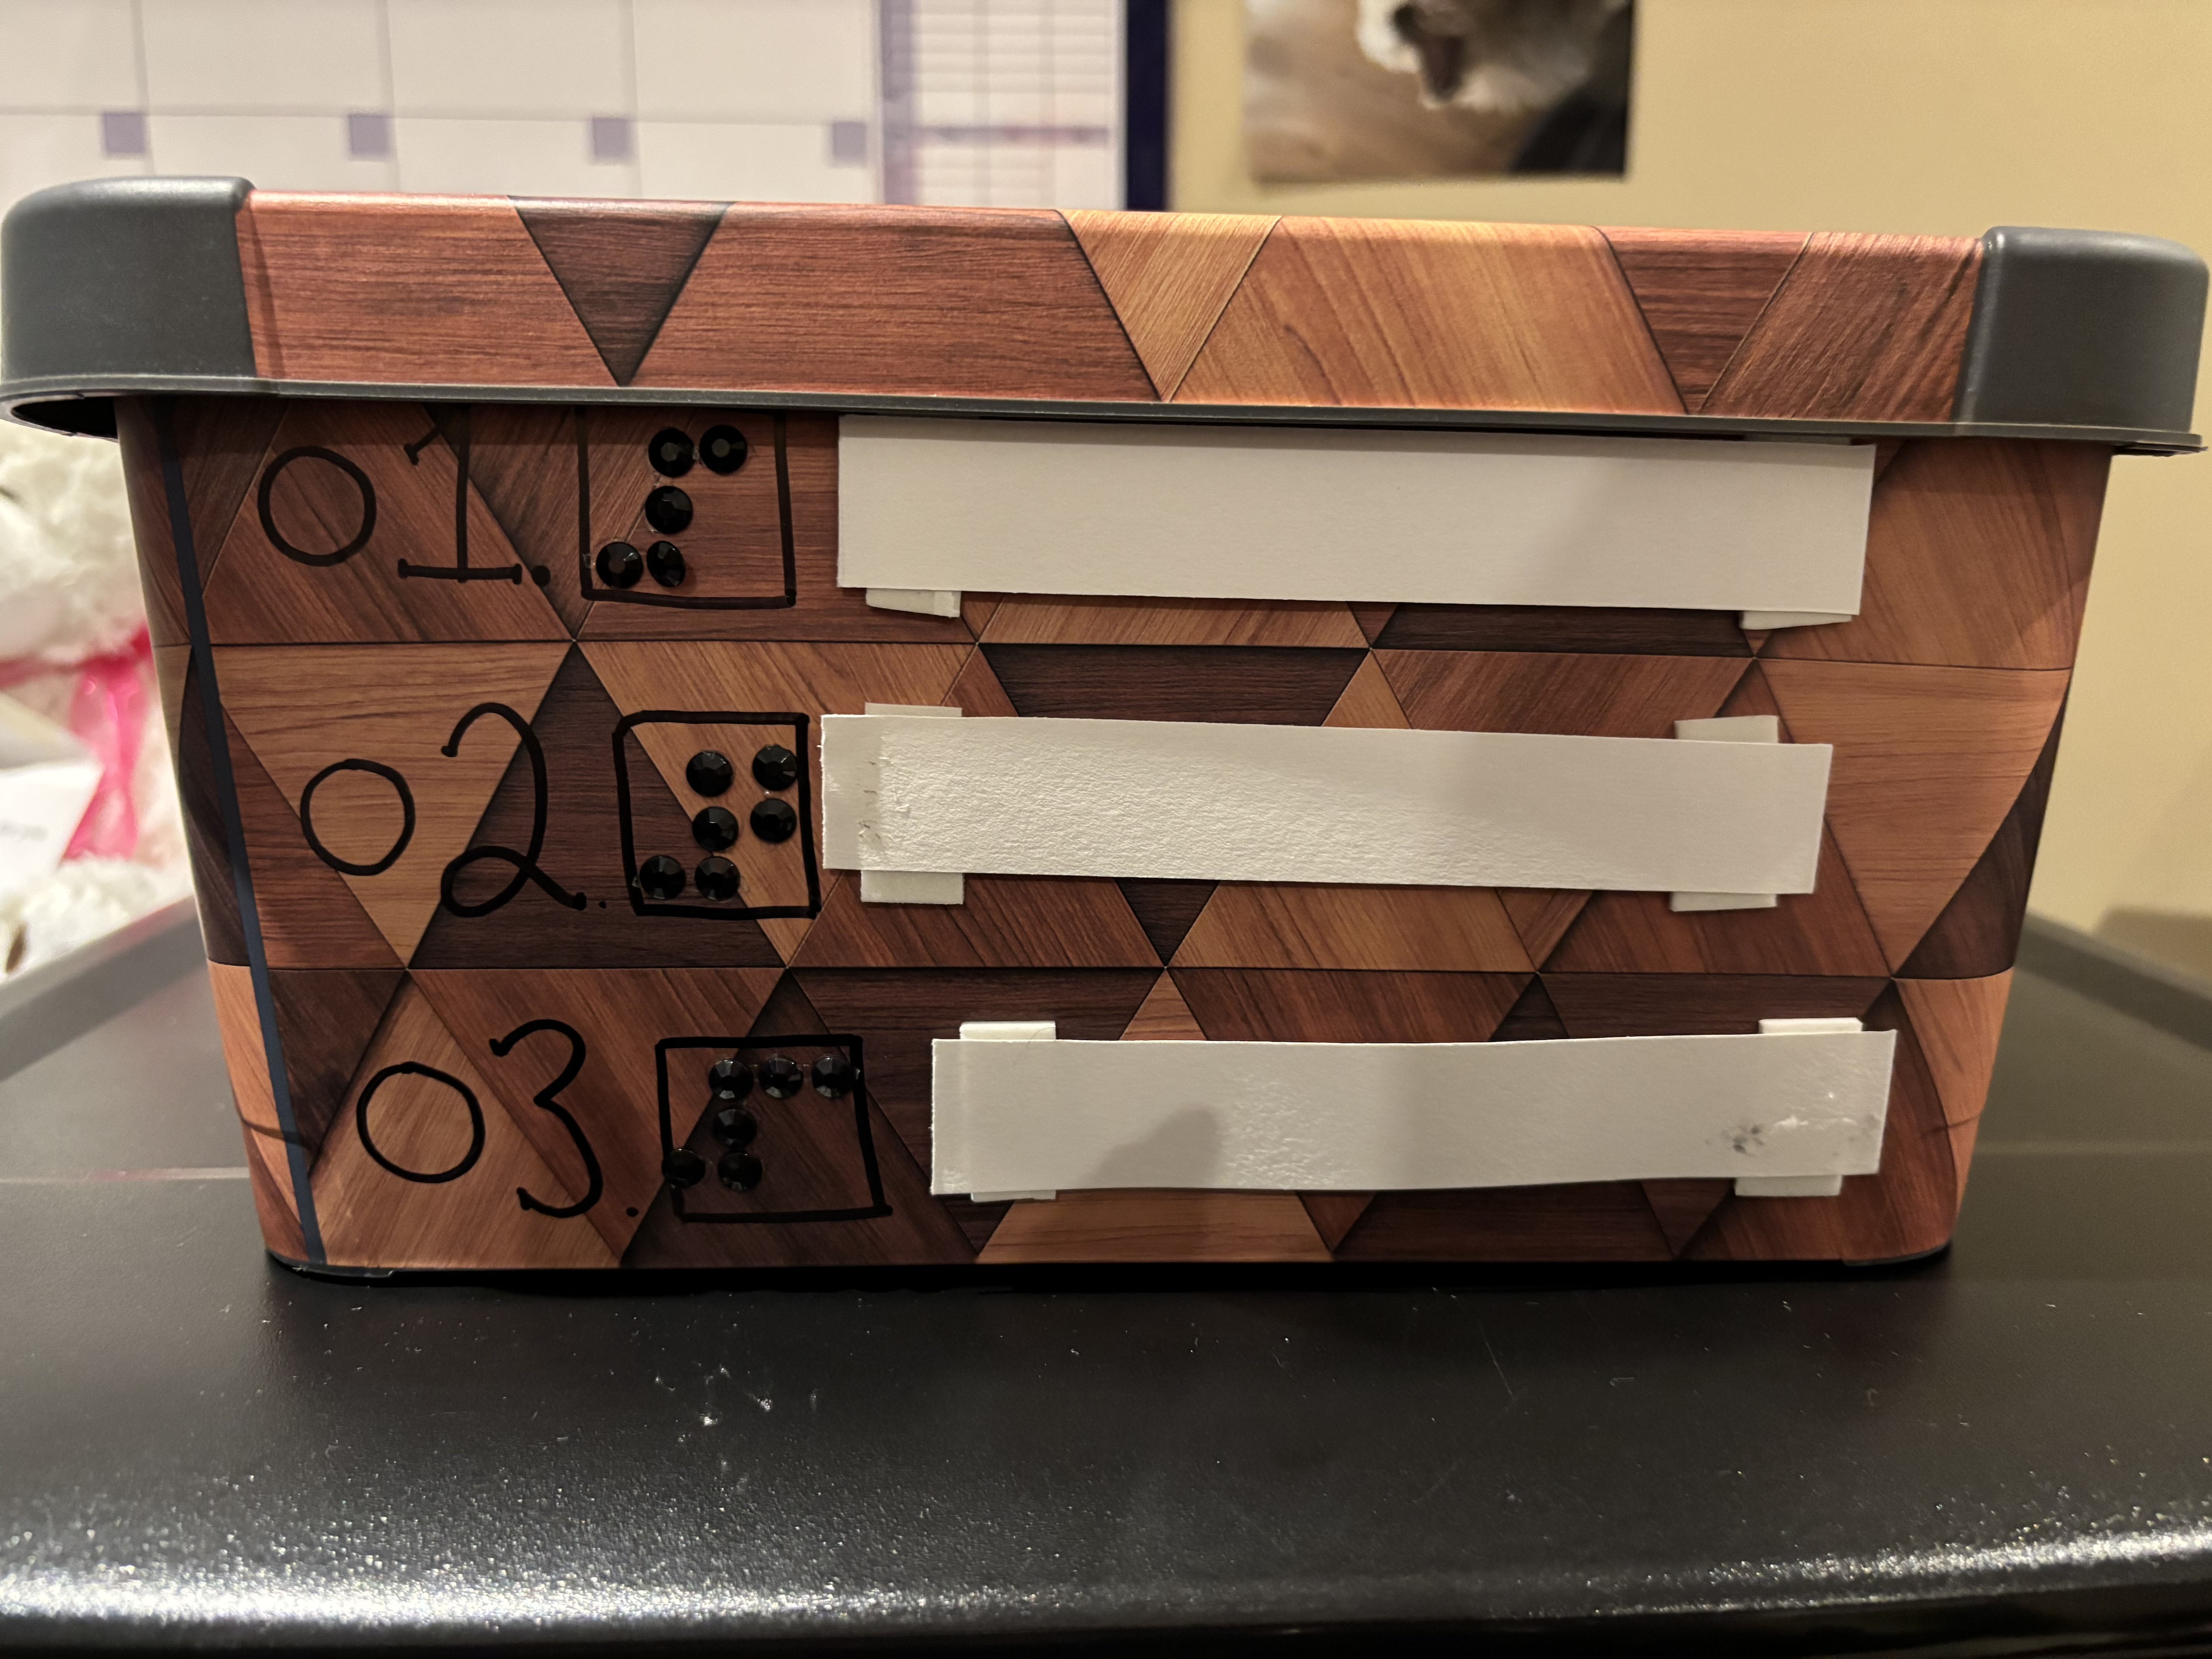
The labels on the side of the storage box.
Conclusion
We found that through the addition of somatic elements, not only were we able to create more immersive designs, but often, the addition of multiple senses allowed higher accessibility. Taking into account how multiple senses can convey similar information meant that there were many avenues to convey information, whether through sight, sound or touch.
The most difficult challenge throughout these two projects was determining how to integrate the Arduino microcontroller as an electronic component. We were able to conceptualize quite well how it may be integrated but found it extremely challenging to actually carry out our vision. We tried our best to address this challenge in our second project. In our first project, we simply included the Arduino symbolically while pointing out where in the book it would be contained (inside the cat), but for our second project, we actually coded interactions into the Arduino: a button that would turn on a light and a buzzer.
We found that the planning phase of the design project always went quite smoothly. We were always able to come up with a plan that could work in theory, but often, once we got to the build phase, we would realize the flaws in our plans. The build phase was definitely the most challenging and time-consuming. A lot of last-minute changes had to be made during this phase to account for errors or gaps in our planning.
From my involvement in this design project, I learned how to design projects that would allow all the senses to create a more holistic experience of the prototype. Especially while brainstorming during SDP2, coming up with all the possible ways someone can interact with a box and how multiple senses can be added was not only a great exercise in design thinking but was generally very enjoyable!
As a user experience designer we are not only concerned about the visual design of objects but also if the design is practical for as large a group of people as possible. To truly deliver a good experience, we must consider all the means by which humans experience the world. Using the somatic design process, addressing all of the senses allows us to create more engaging and accessible products.


Maneet Sodhi
ManeetSodhi03@gmail.com
