Maker Lab
School Project - Wilfrid Laurier University
|
2024
Project Case Study
Overview
For Maker Lab I, two projects, GMP1 and GMP2 were completed. These projects both involved creating a prototype of a product that would address an issue of our choice.
GMP1 was the "hacking" of a box to change its purpose. For this task, my group created a VR headset that would potentially provide cheaper options than typical commercial products.
GMP2 was a project where our group would use the critical-making process to address a social issue. Our group decided to tackle the issue of hygiene amongst the homeless through the creation of cheap but durable portable toilets.
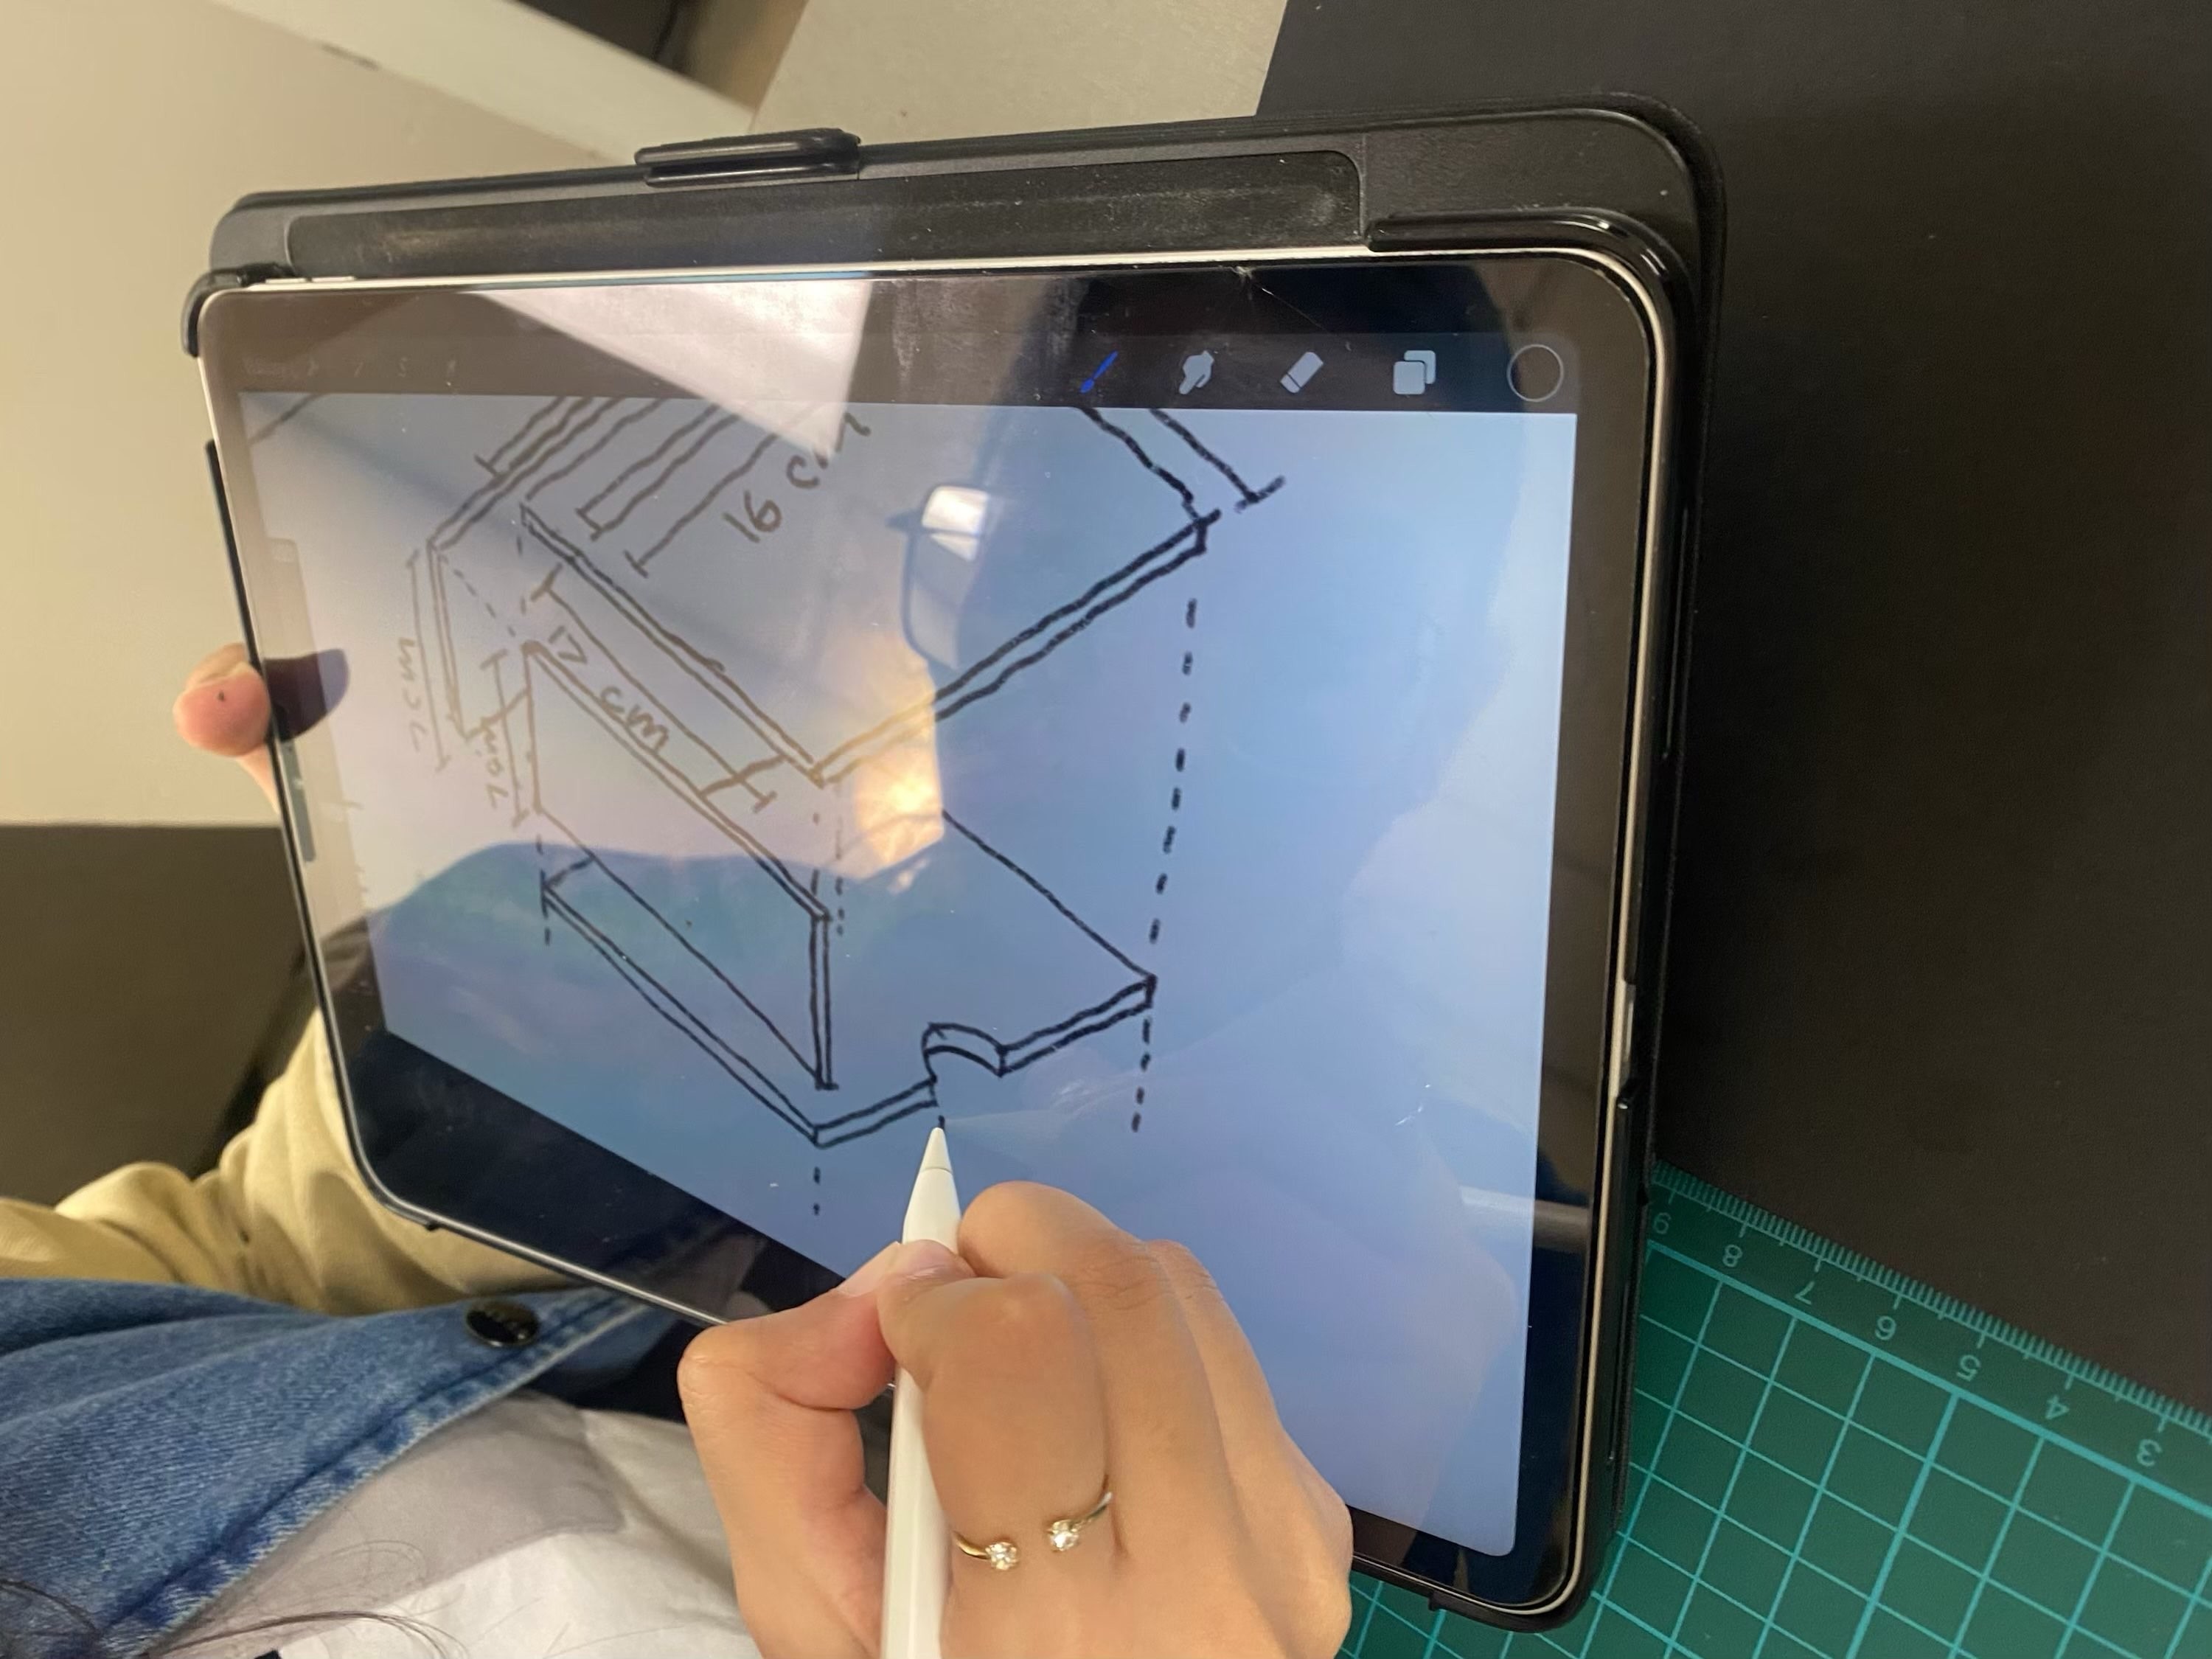
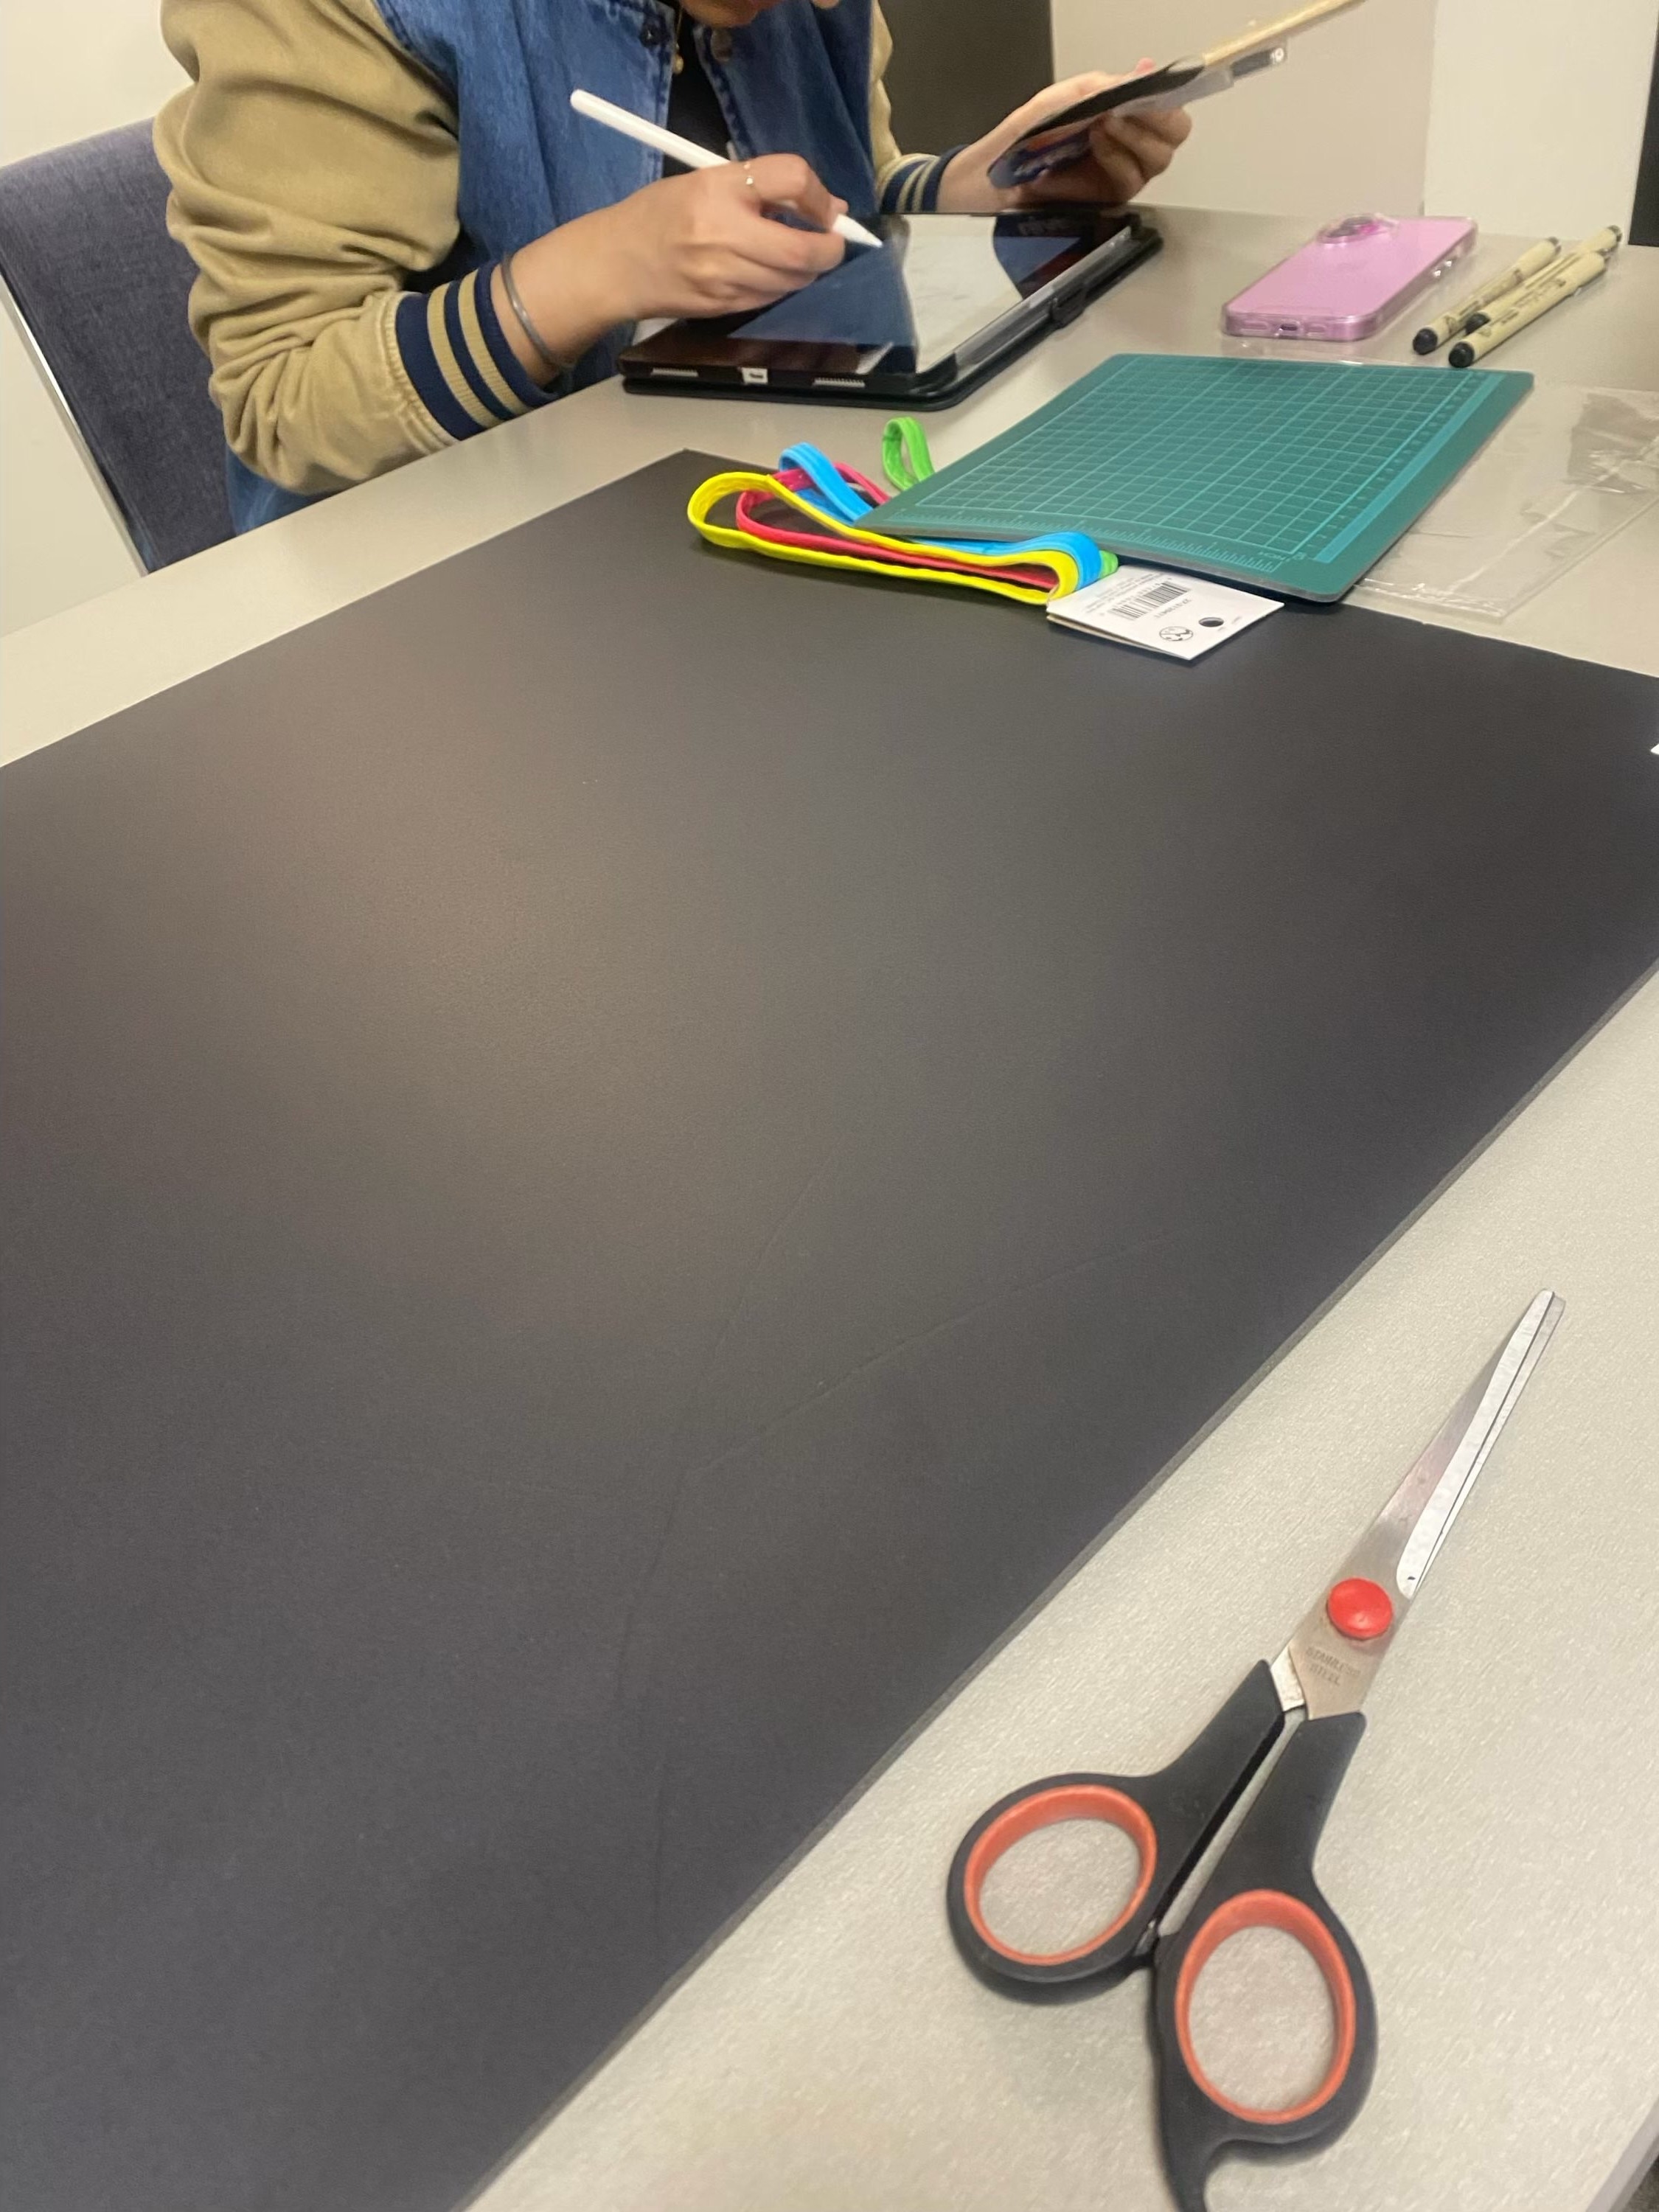
Calculating measurements of parts.
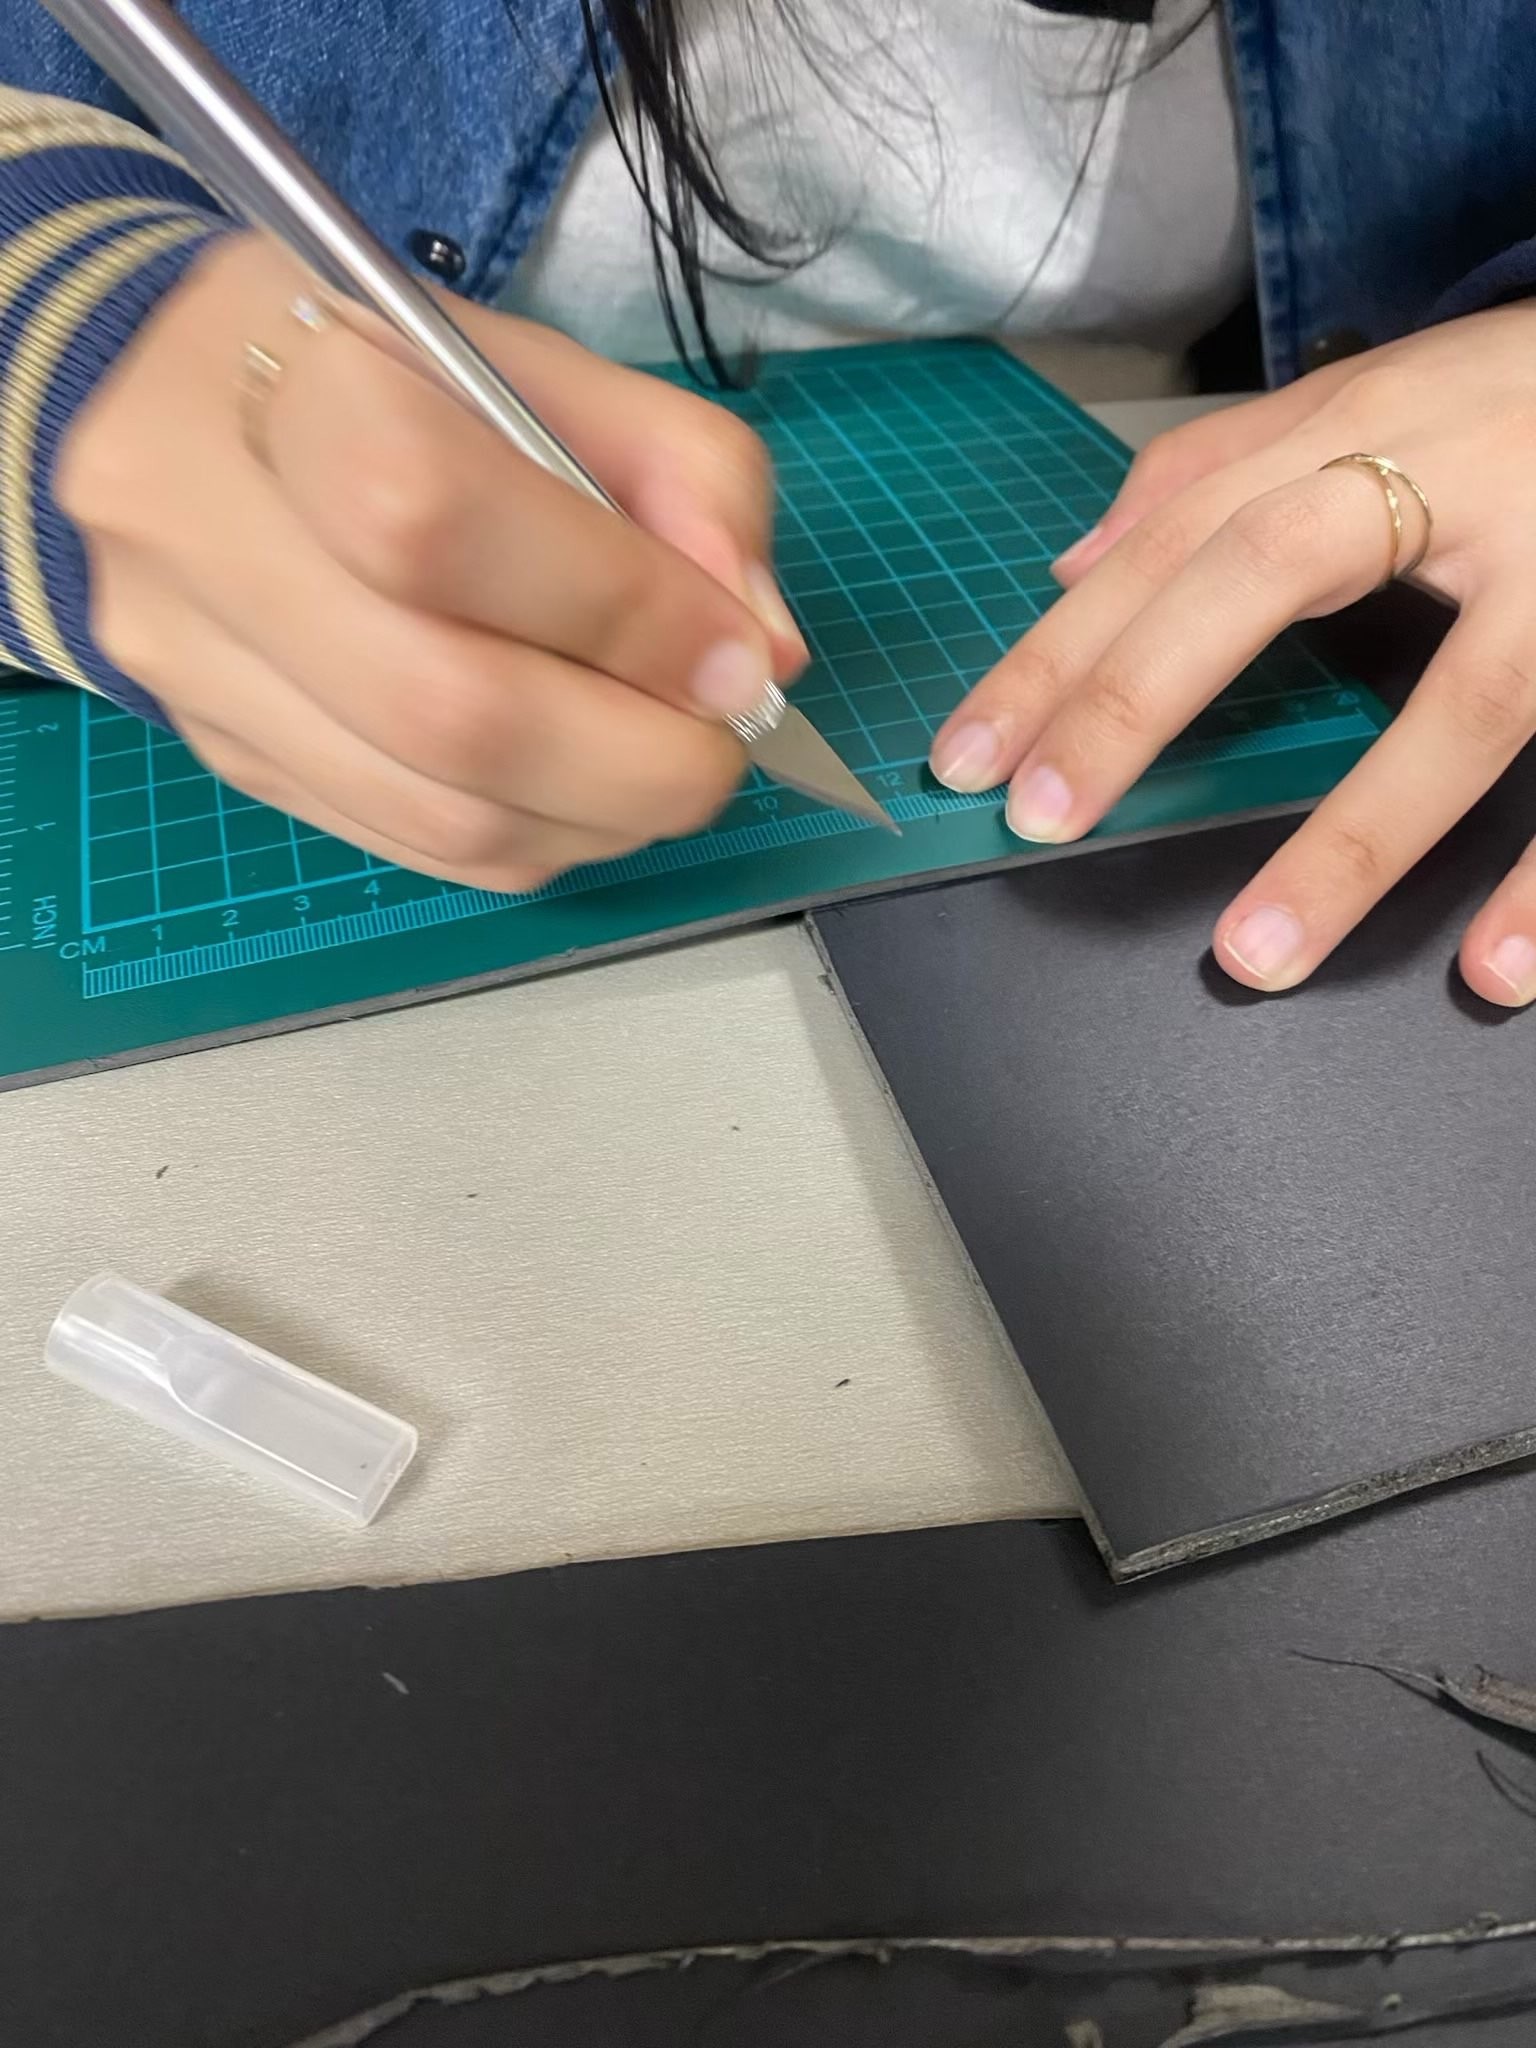
Using the cutting mat as a straight-edge (we forgot to bring a ruler).
Process
GMP1 - VR Headset
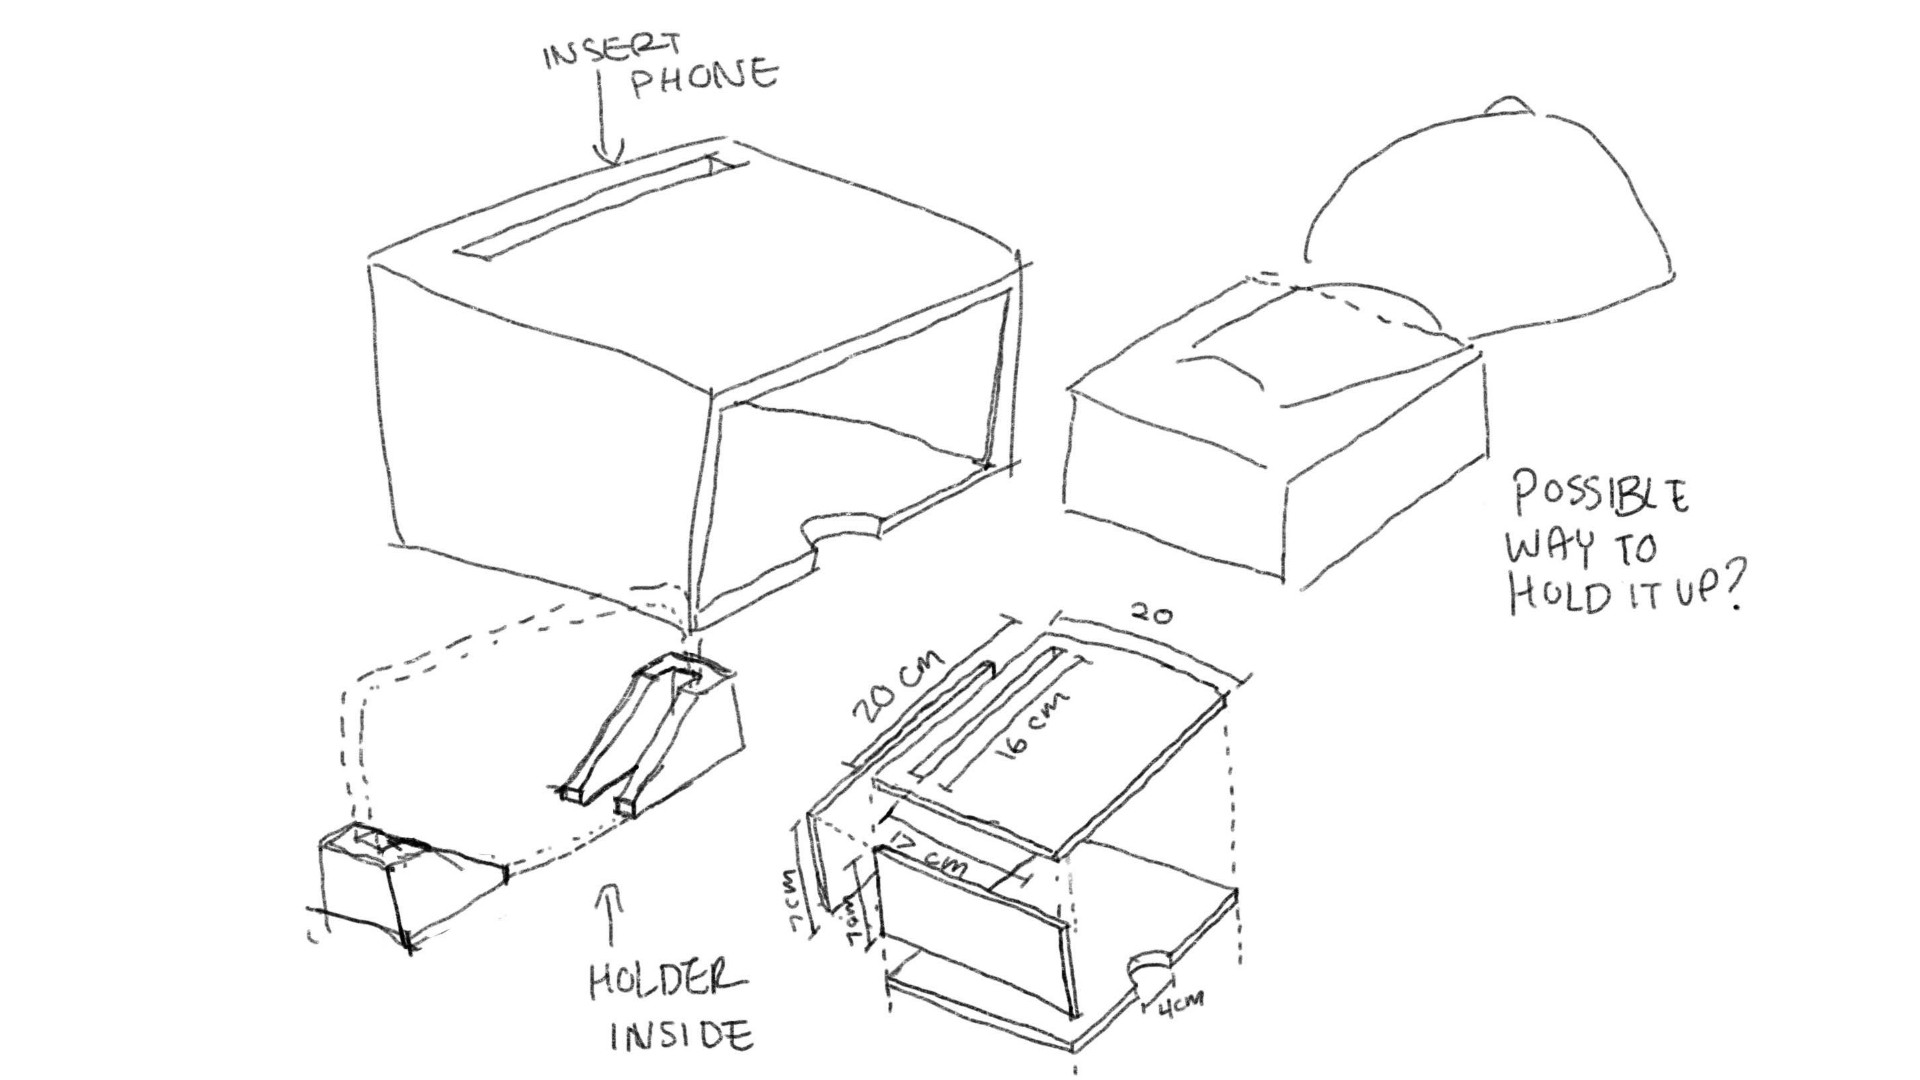
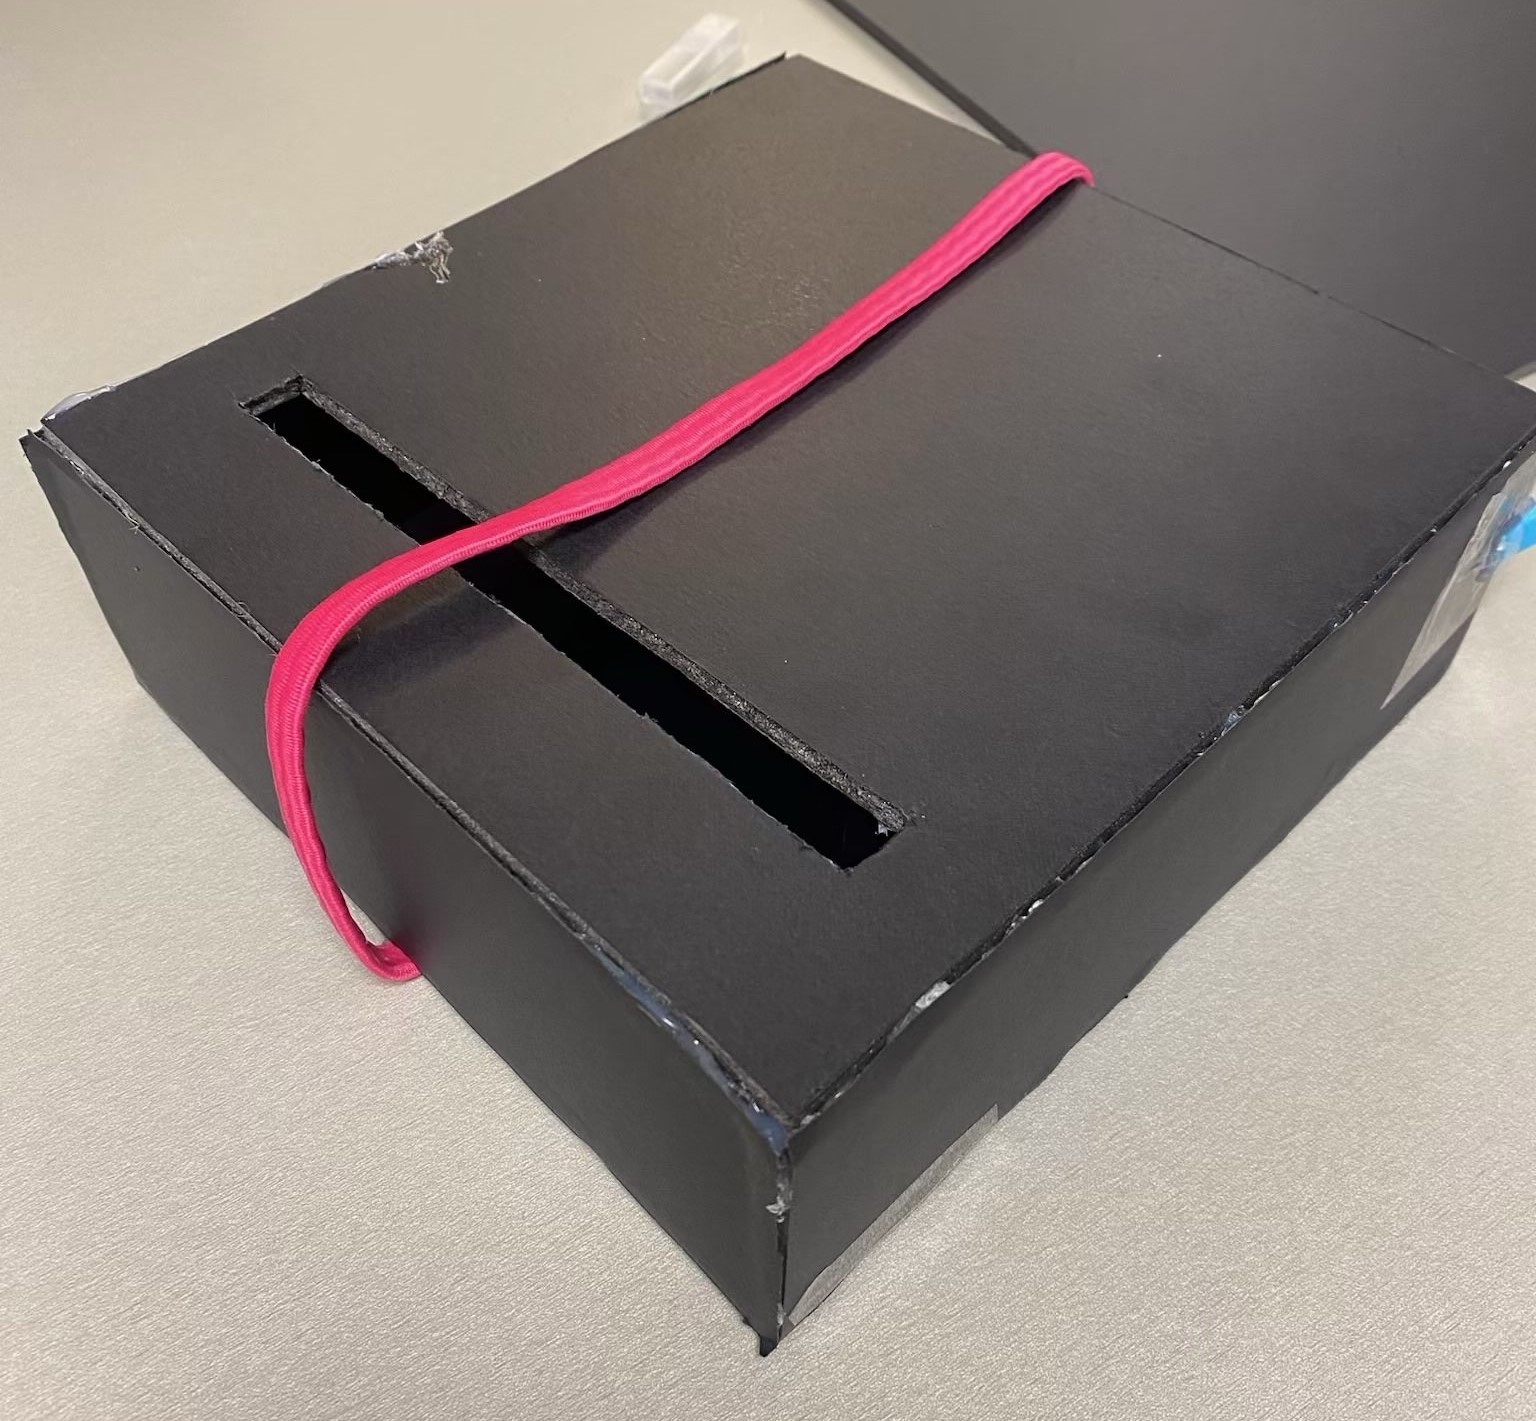
For GMP1 our group created a prototype that “hacks” a box by creating an opening for eyes and a slit to insert the user’s phone. This box transforms from what is typically a storage device to one that achieves a very different goal. The addition of elastics also make the prototype wearable.
This VR headset is designed to be a straightforward, functional prototype. It's a box with slits for inserting a phone and an opening for the user's eyes. The box itself is constructed using foam board, chosen for its lightweight properties, making it comfortable to wear. The entire structure is secured with elastic bands to keep the headset in place, providing a snug fit around the user’s head and effectively counteracting the phone's weight to reduce discomfort.
Materials
Foam Board: This forms the main structure of the headset.
Exacto Knife: To cut the foam board into the correct pieces.
Hot Glue and Tape: Used to assemble the foam box.
Elastic Hairbands: Used for support and serve as an adjustable headband to secure the headset on the user’s head.
Assembly Process
Acquiring Measurements:
The VR headset is meant to be a "DIY Kit" where the user is able to fully customize it to their needs. For this reason, a member of our group was chosen to be the "user" and all measurements were taken to accommodate her. This included distance of the phone from the eyes, the width of the box, as well as the length of the elastics.
Constructing the Box:
We then start cutting foam board pieces into the shape of a box, cutting the foam out of the edges for better presentation after assembly. Once attached, we secure the corners with tape.
Creating the Phone Slot:
A slit is cut into one side of the box to allow for easy phone insertion. Inside the box, foam pieces cradle the phone, holding it in place and preventing it from tilting.
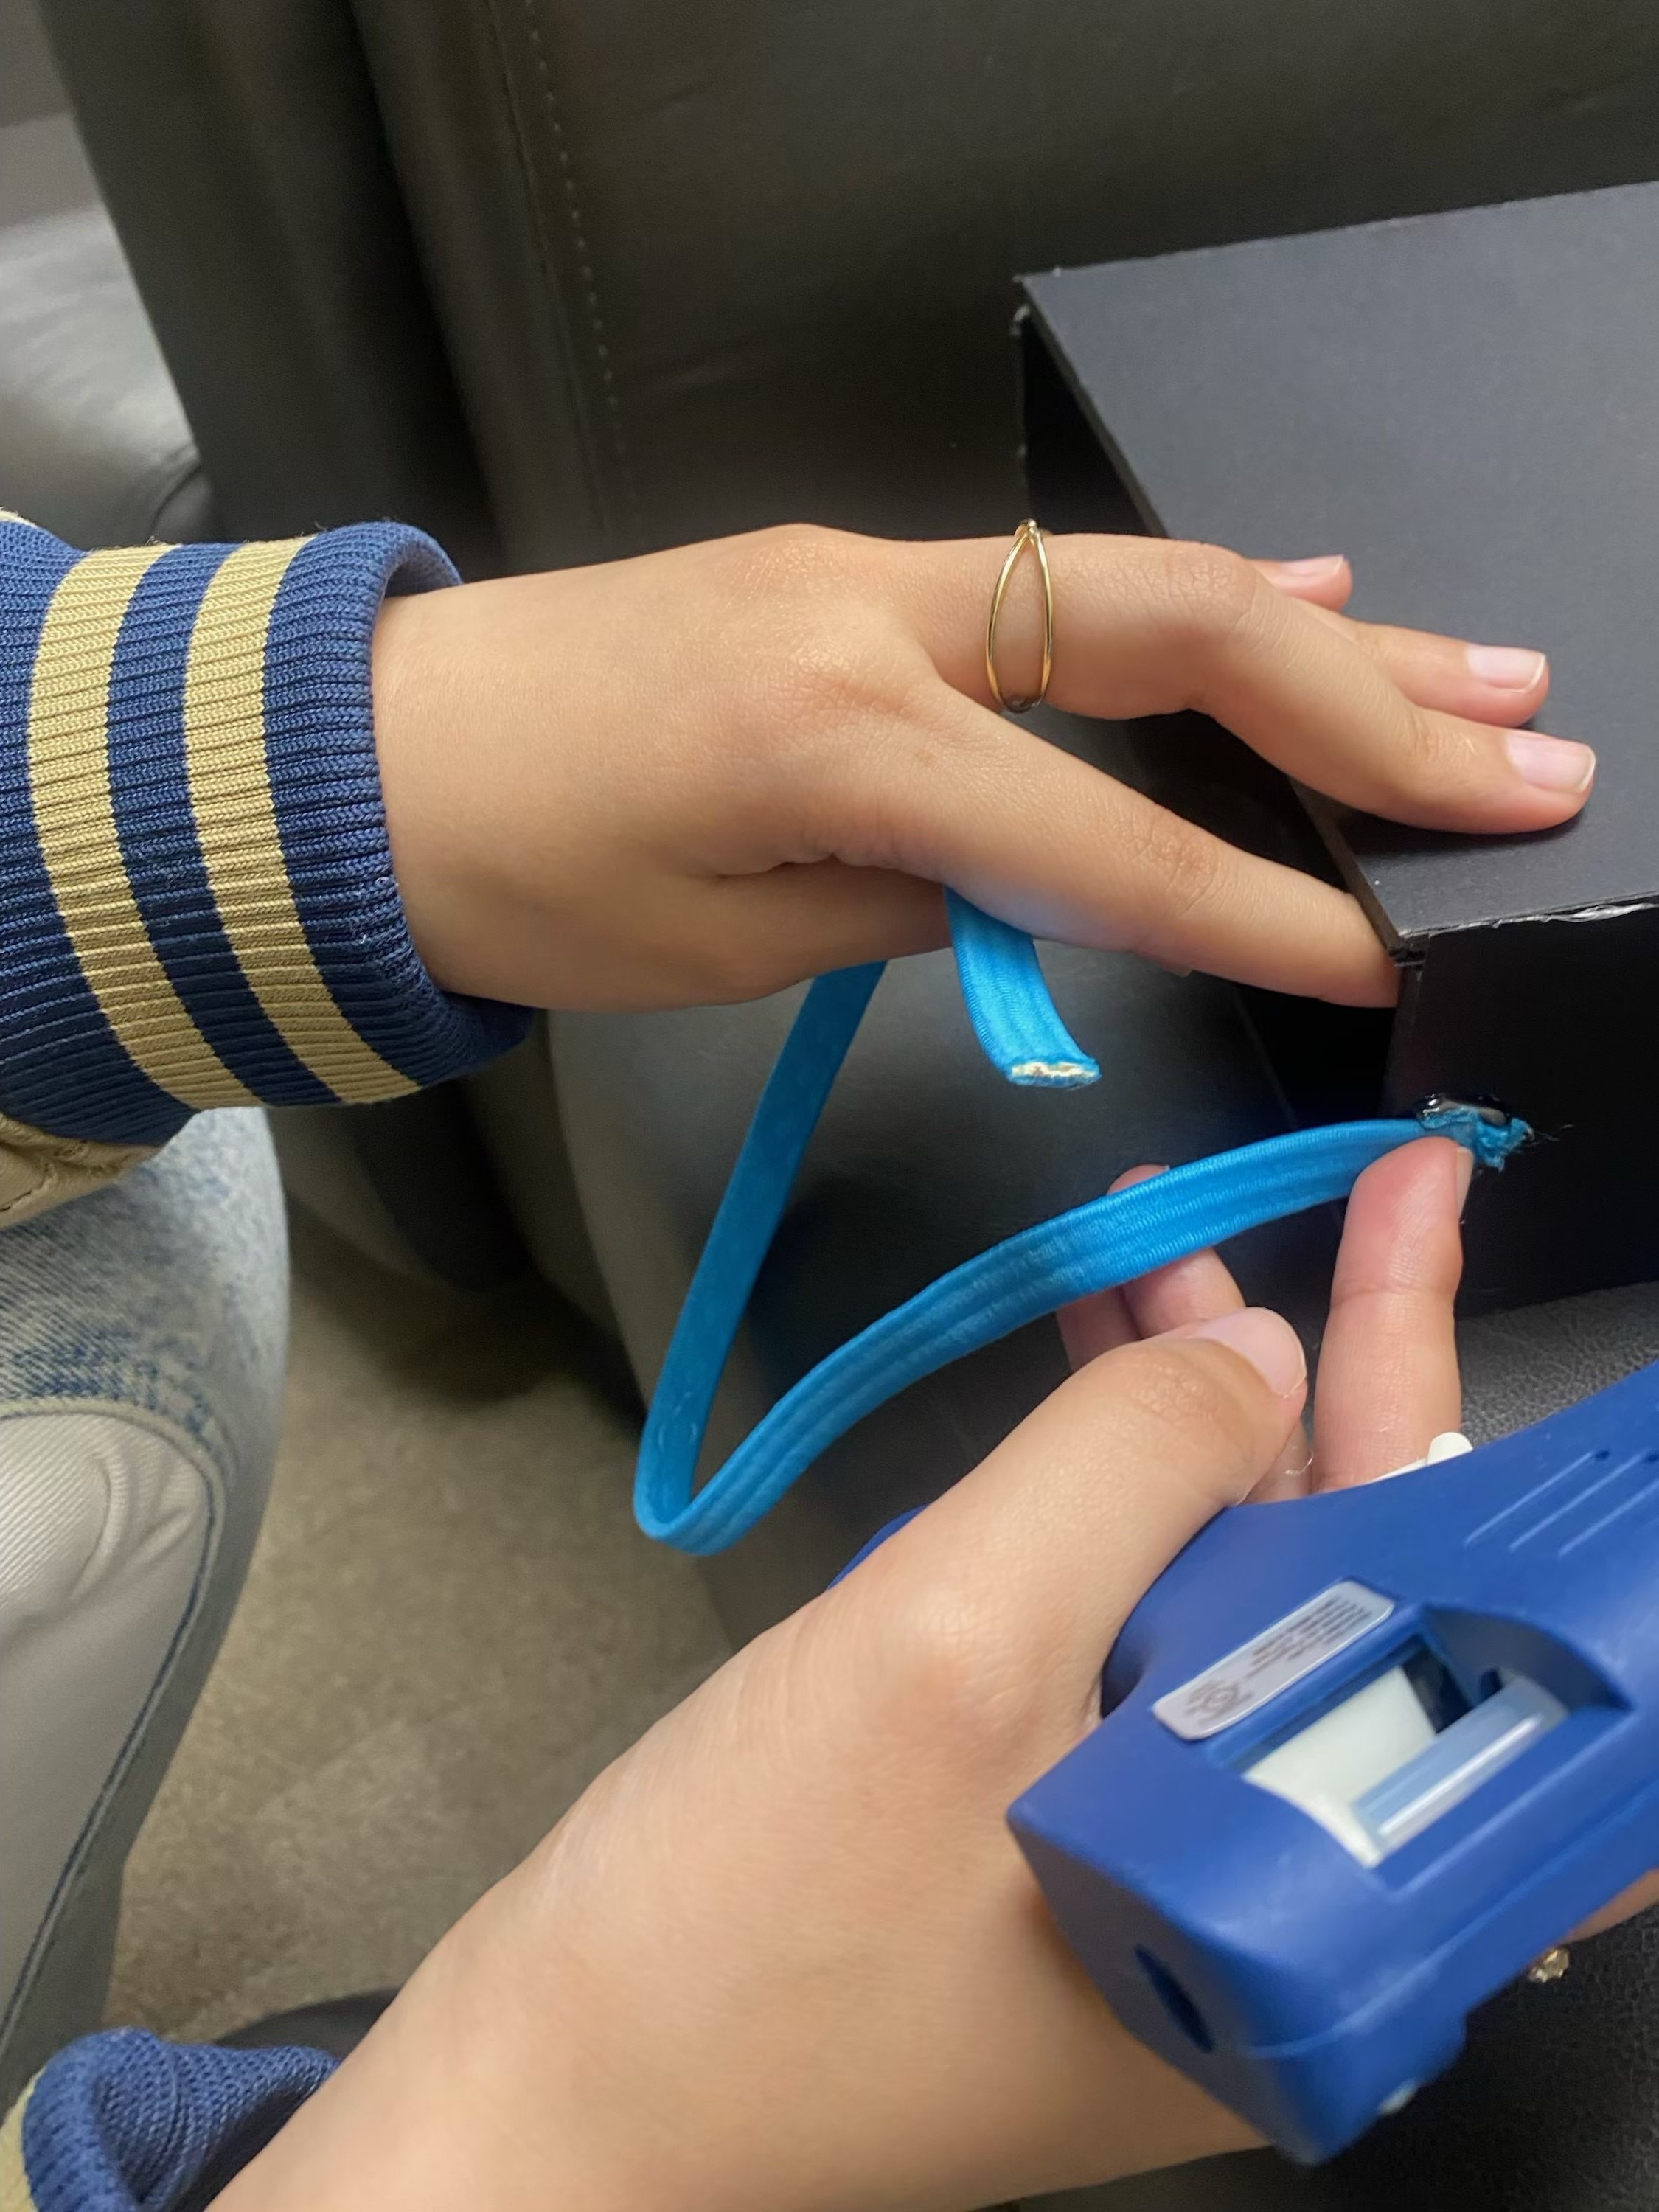
Securing with Elastic Bands:
Finally, we attach elastic bands to act as a headband, making the headset adjustable for different head sizes and ensuring a comfortable fit. This also counteracts the phone's weight which would otherwise cause the headset to fall.
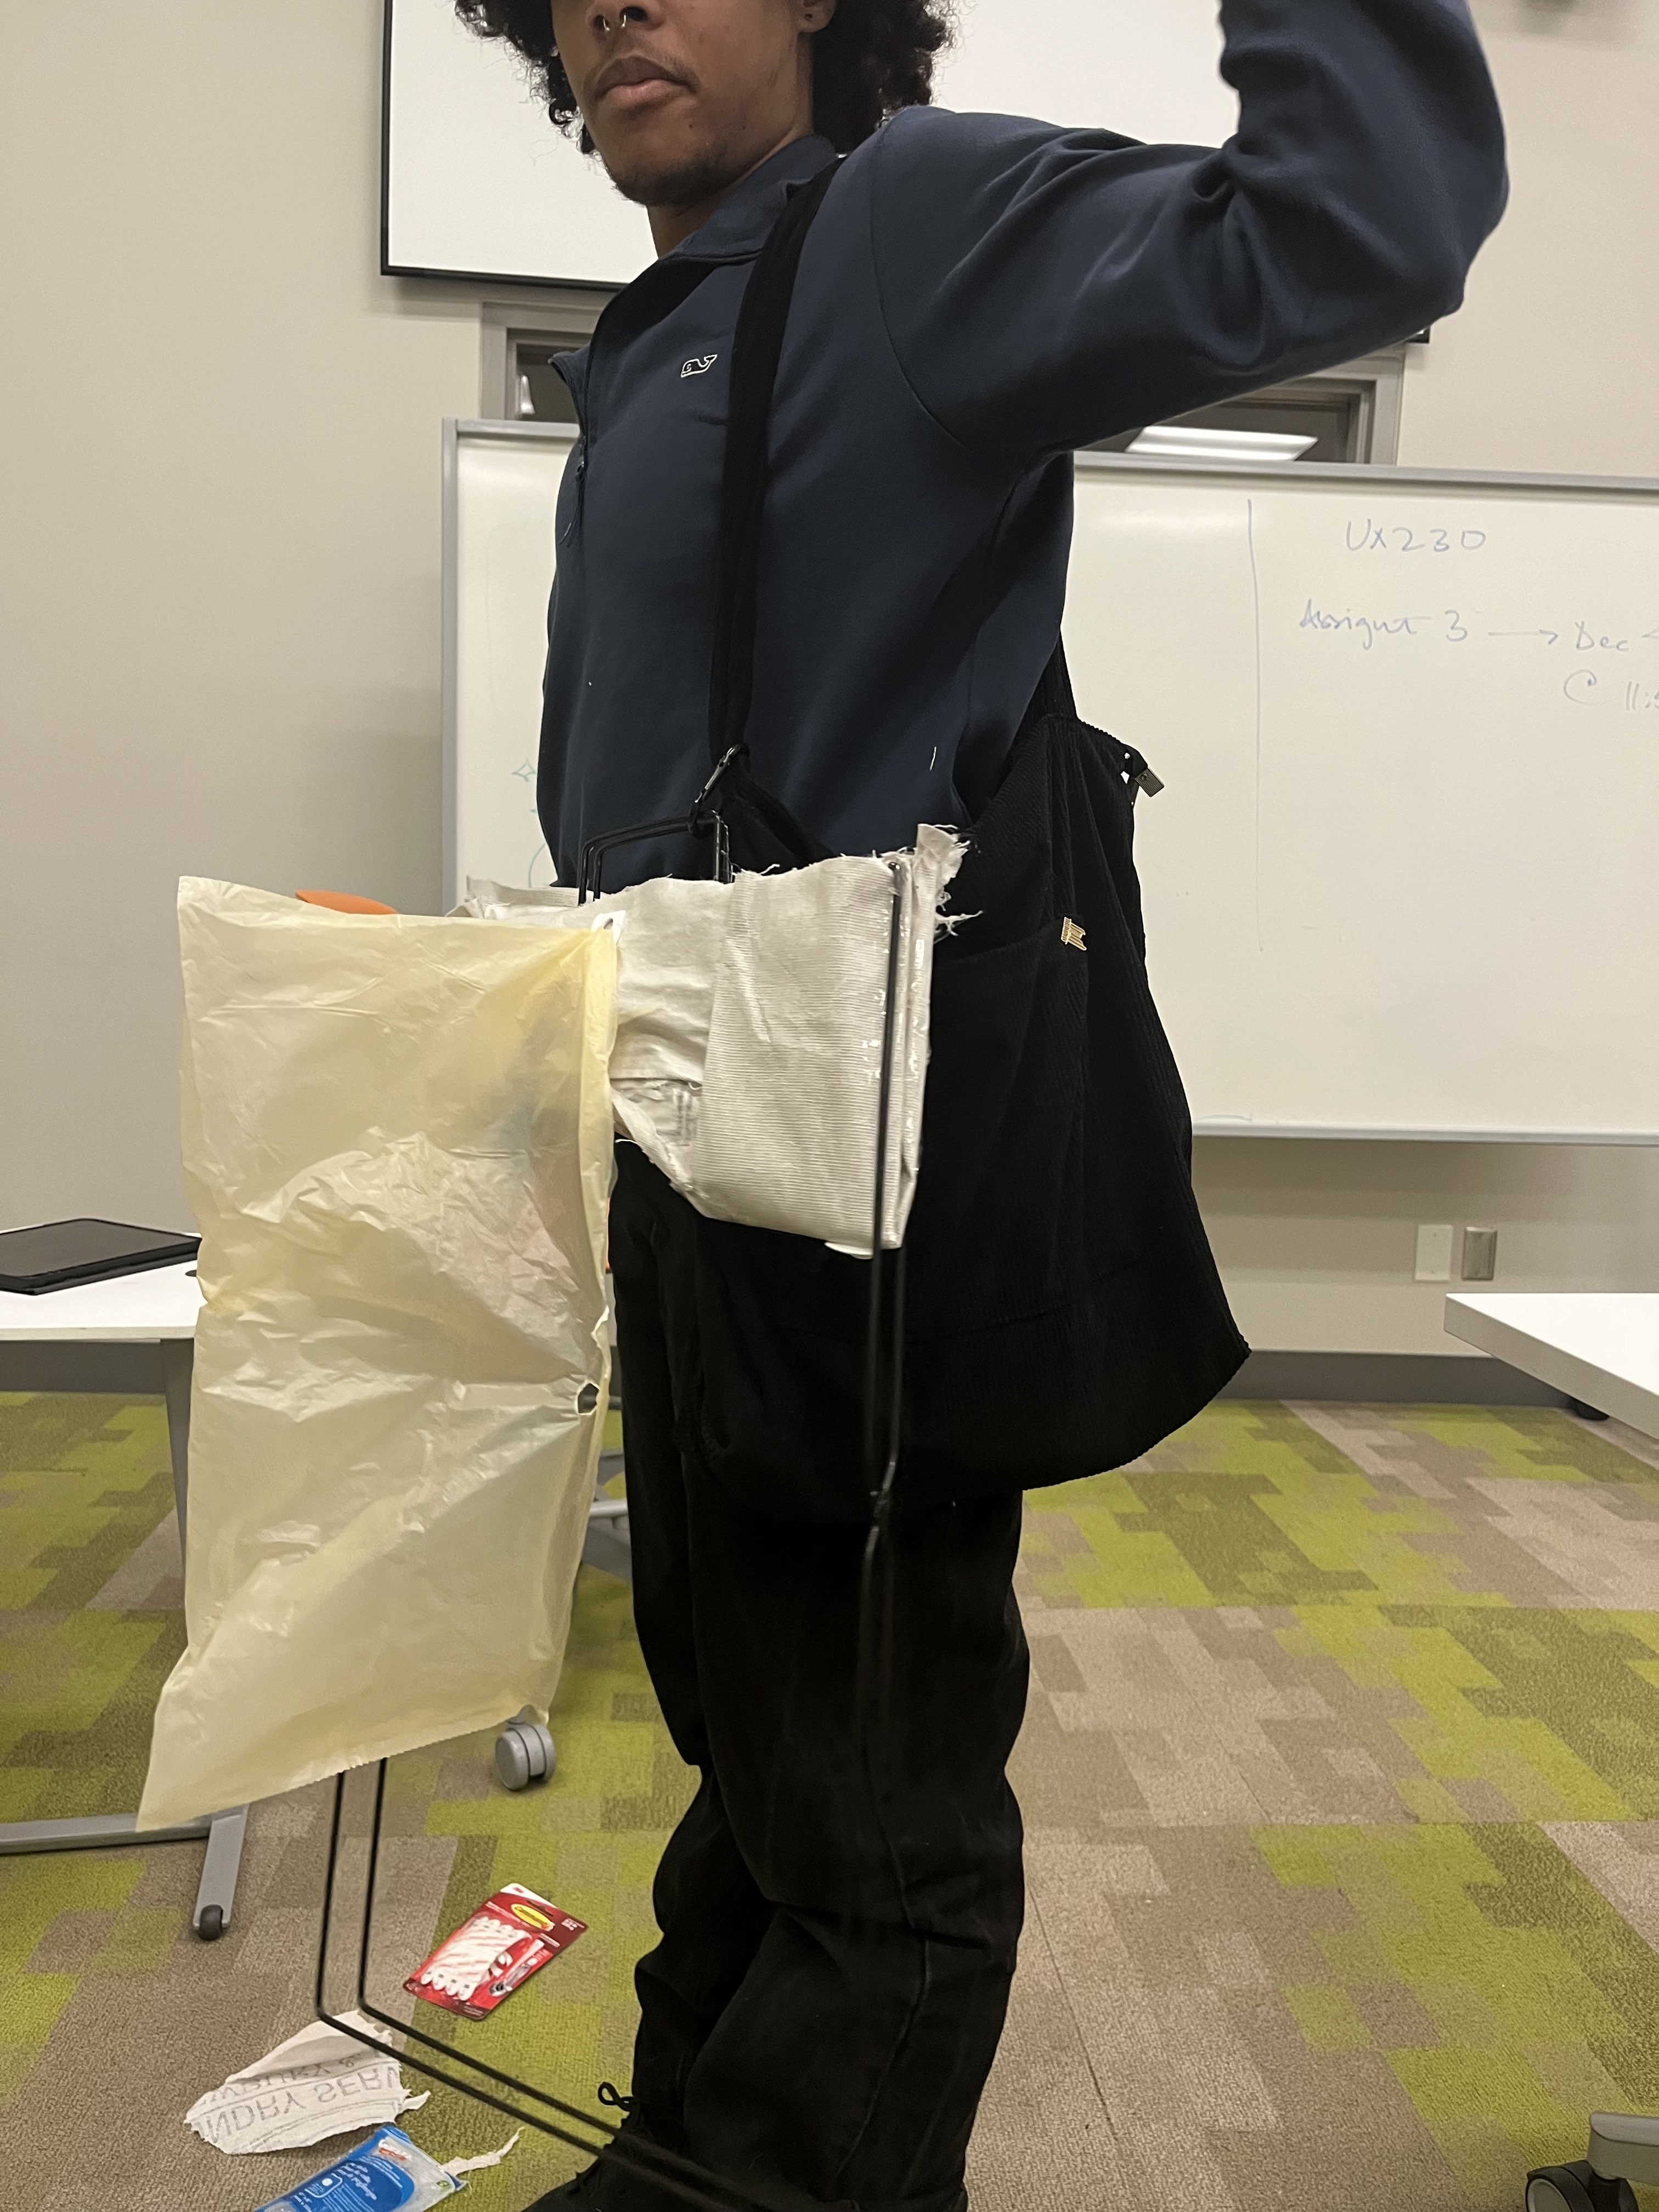
GMP2 - Portable Toilets
For GMP2 the group wanted to build portable toilets as a response to the large homeless population around the university. We wanted to create a product that could aid these individuals and be a critical resource for people living in rural communities, in places with underdeveloped sanitation infrastructure or even for disaster relief.
This portable toilet is designed to be a functional proof of concept. It is a folding frame with a cloth over the top that has a hole in it. Within this hole a bag for containing waste can be placed, secured by command hooks attached to the underside. The entire top of the toilet is covered in tape which simulates a water-proof coating.
Materials
Legs of Laundry Hamper: Used as the base of our toilet seat
Cloth Bag: Source of cloth to cover seat
Exacto Knife: To cut the cloth bag.
Hot Glue and Tape: Used to assemble the toilet.
Command Hooks: Attached to the underside of the seat to hold the bag
Disposable Garbage Bags: Attached to the command hooks to catch waste
Assembly Process
Constructing the Seat:
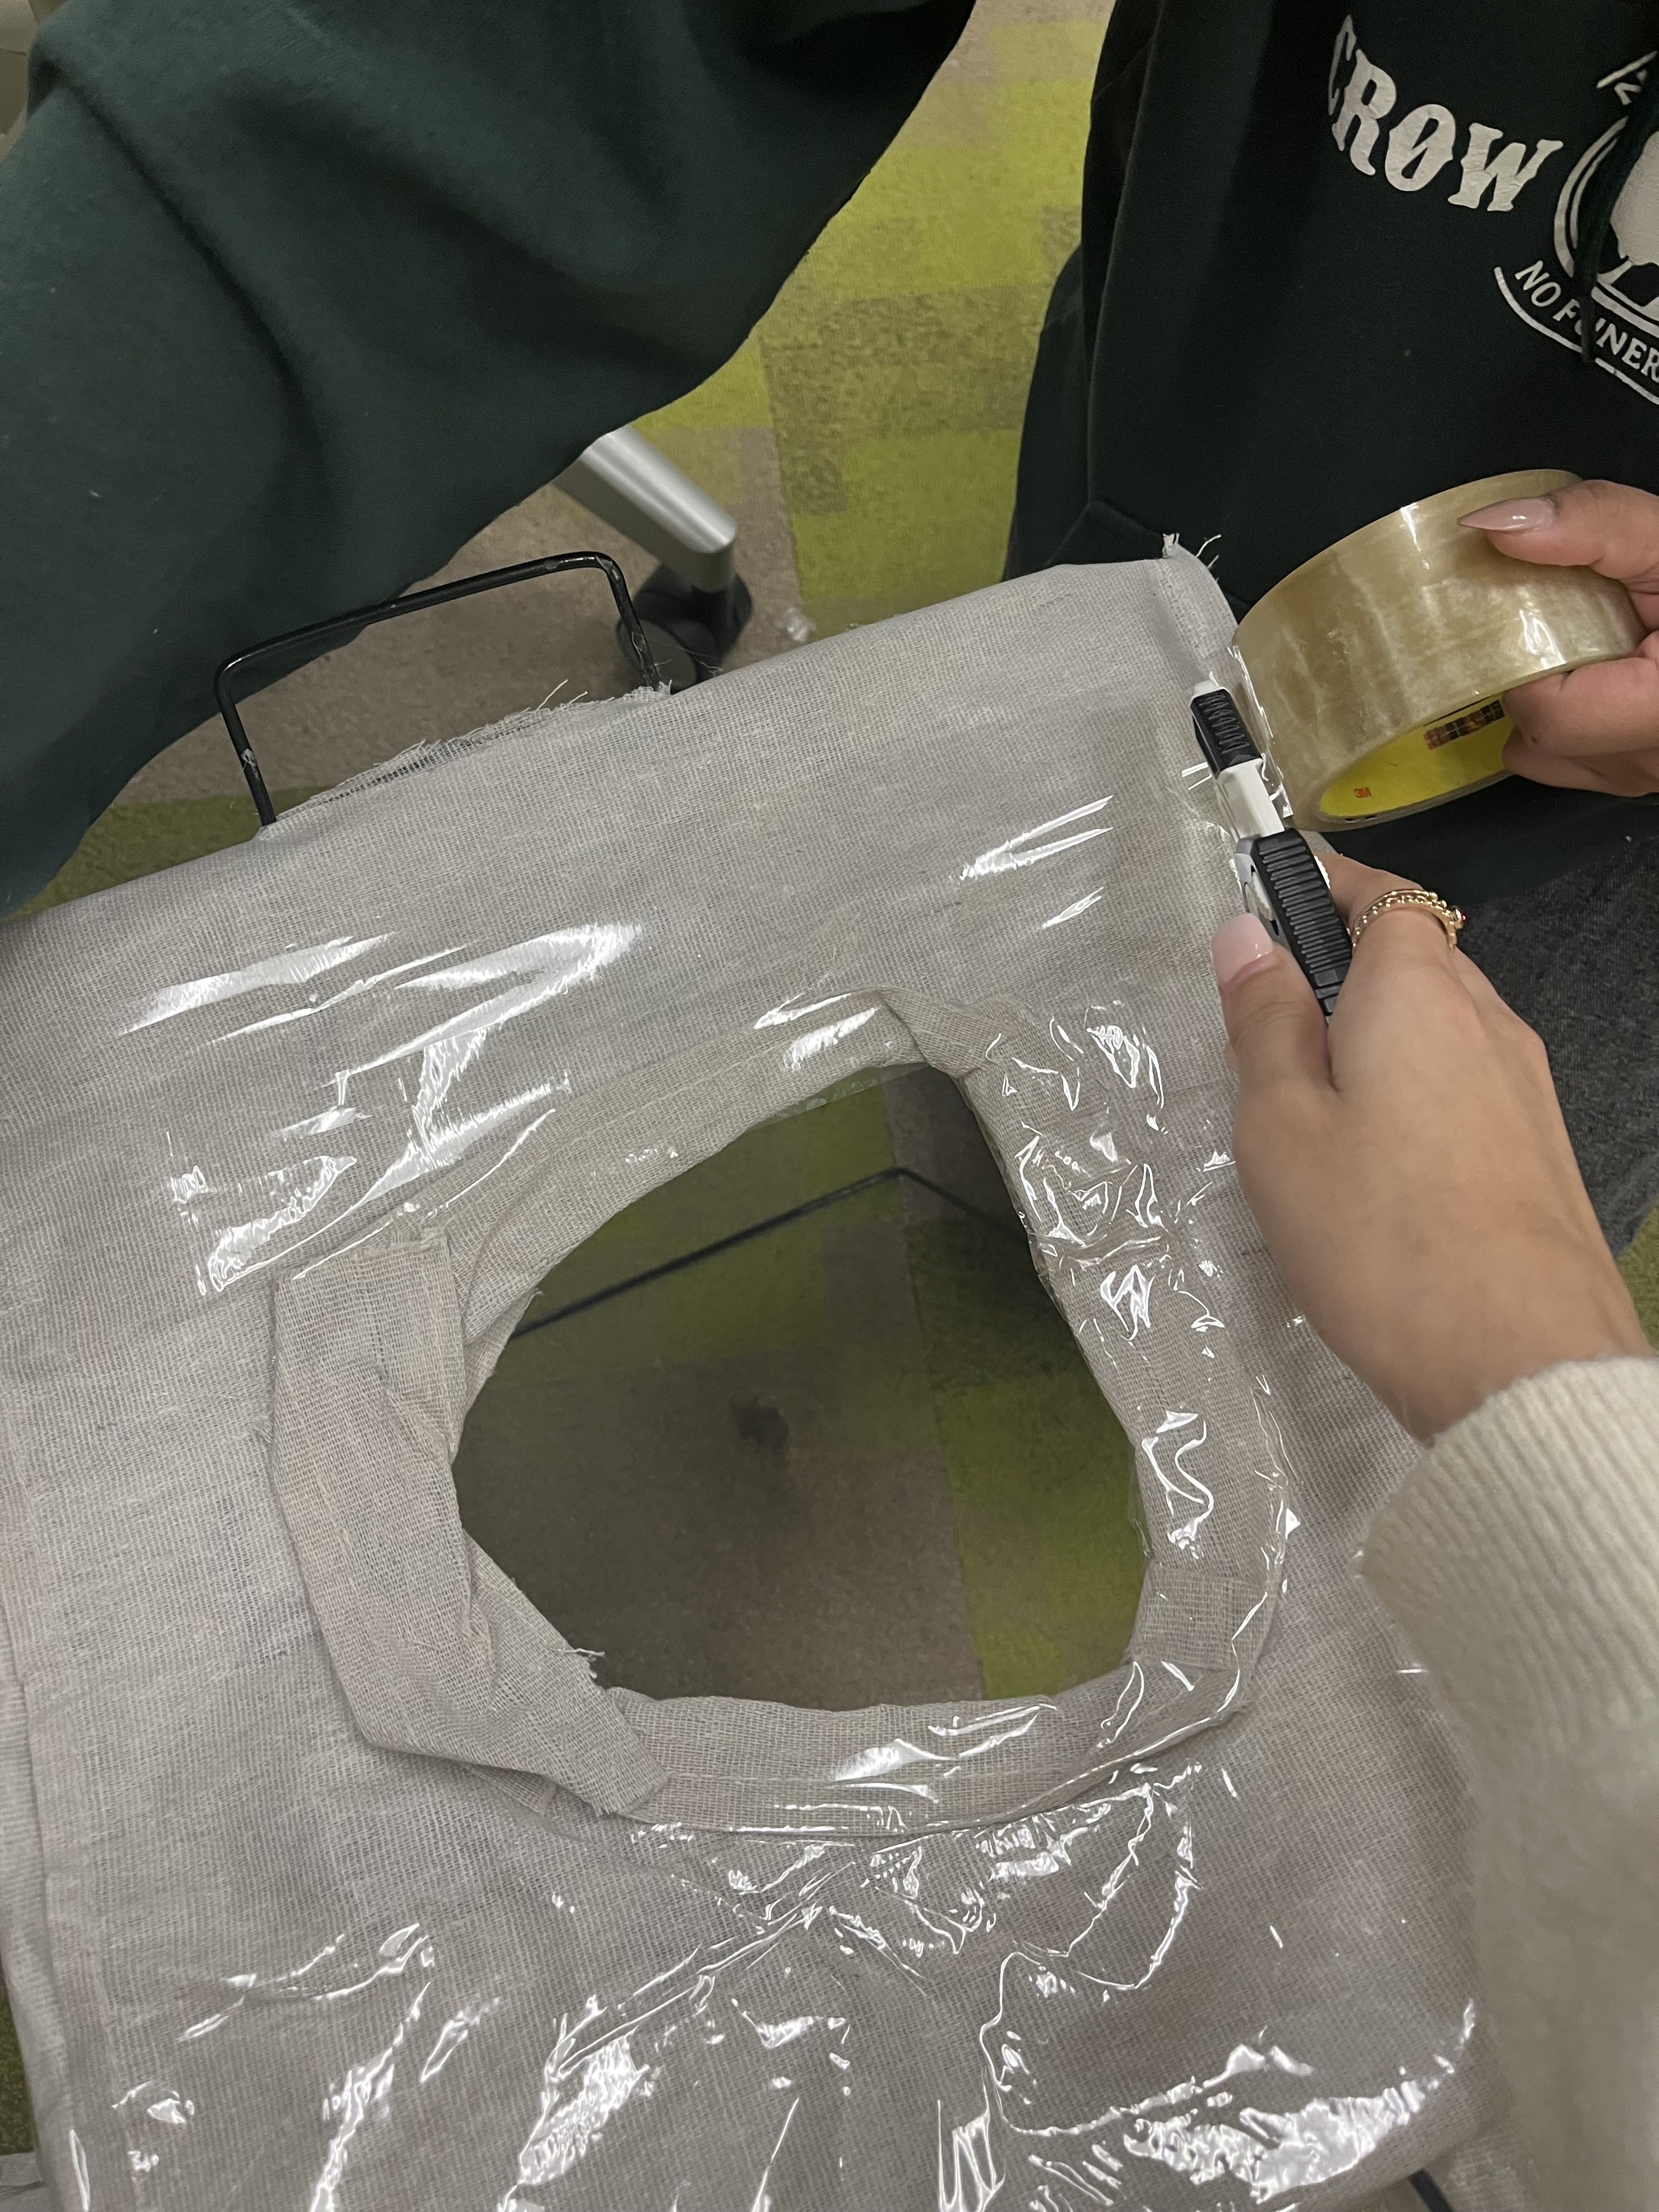
To start, the distance between the handles on the hamper legs were measured onto the cloth bag so that holes could be cut that would slide onto them perfectly. This ensured that the hamper legs would not over-extend and would be at a comfortable sitting height when pulled taut. Then a hole was cut through the center of the cloth to create our toilet's opening.
Adding Waste Bags:
Command hooks were glued to the bottom of the seat to hold waste bags. This would keep them in place as the toilet was in use but would also allow the bags to be easily detached for disposal of the waste.
Laminating the Seat:
Finally the seat is covered in an extra layer of tape. This layer of tape is meant to waterproof the product to add an extra level of sanitation by making it easy to clean.

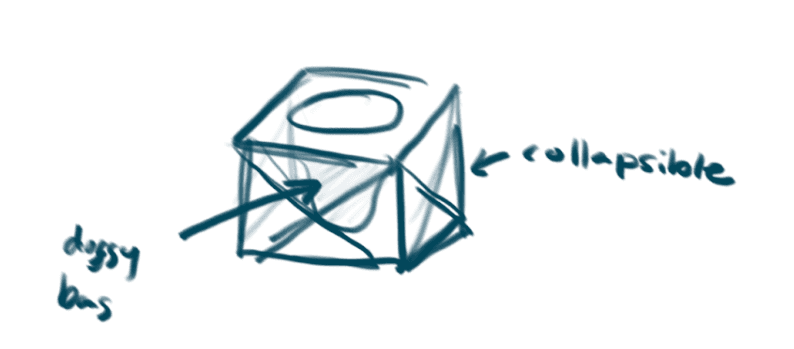
Sketch of initial plan.

Sketching out the hole.
Conclusion
Through my involvement in these projects I was able to exercise my prototyping skills in a way that would be directly tied to solving a chosen problem. Often a challenge encountered in prototyping is finding the best materials for the work. With limited budgets and access to equipment, DIY builds needed to be simple and well thought out.
Often with our creative process roadblocks regarding materials and how to actually begin building our prototypes were often solved by shopping around finding interesting and exciting materials to work with. Our first project, a VR helmet, had the issue of how it would attach to our user's heads. The initial draft had the box sit on top of a baseball cap but from our explorations we found that elastic headbands were far more effective. We found that often the most successful part of our design process was the building of the prototype. With the aid of the entire group we were able to condense the iterative process by continuously assessing the functionality. Making changes on the fly to quickly address issues led to a stronger prototype without the need to test multiple iterations. Our group struggled the most with narrowing our focus to a single problem we would like to solve. Especially with the first project, simply choosing the focus of our box’s purpose accounted for about 70% of the time we worked on the project. Likewise, although the actual building of the prototype was successful, we sank a lot of time into planning how we would begin building. All for us to change the plans as we actually got started.
Although I am very familiar with the iterative design process and prototyping from my experiences in architecture, working in teams of this size is new to me. Coordinating steps of the design process between team members and ensuring that all relevant ideas are being expressed to keep everyone on the same page was key in achieving a good final product.


Maneet Sodhi
ManeetSodhi03@gmail.com
